Where Błudnik Leads
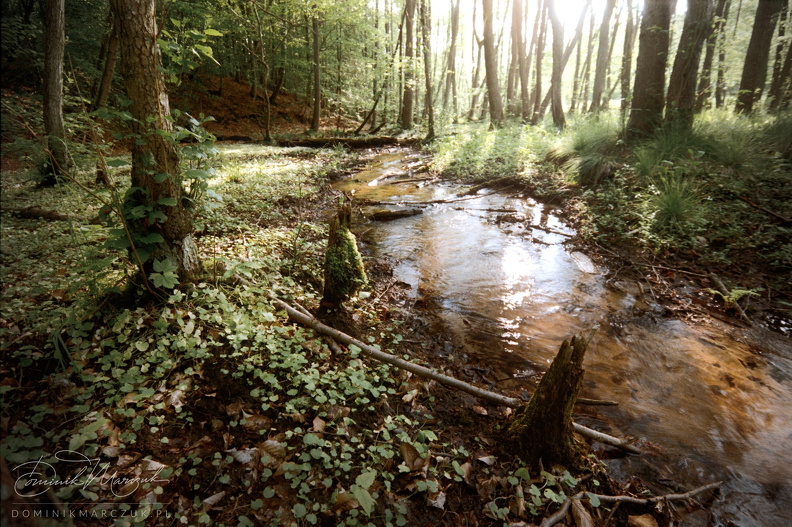
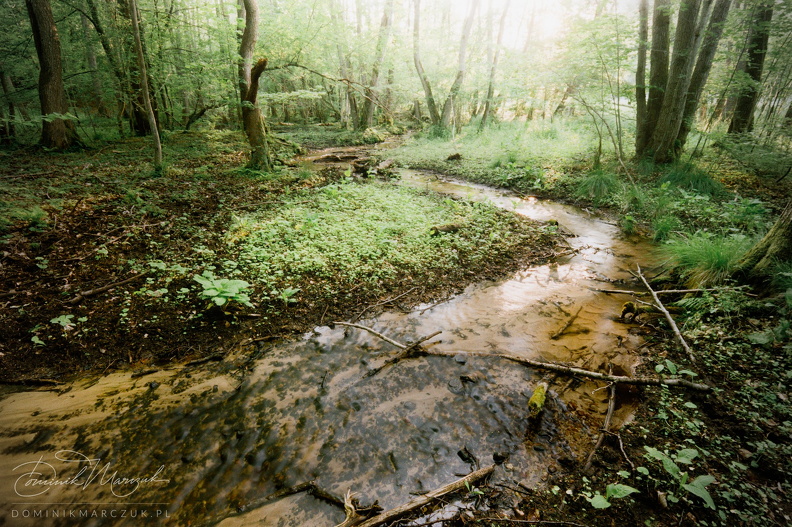
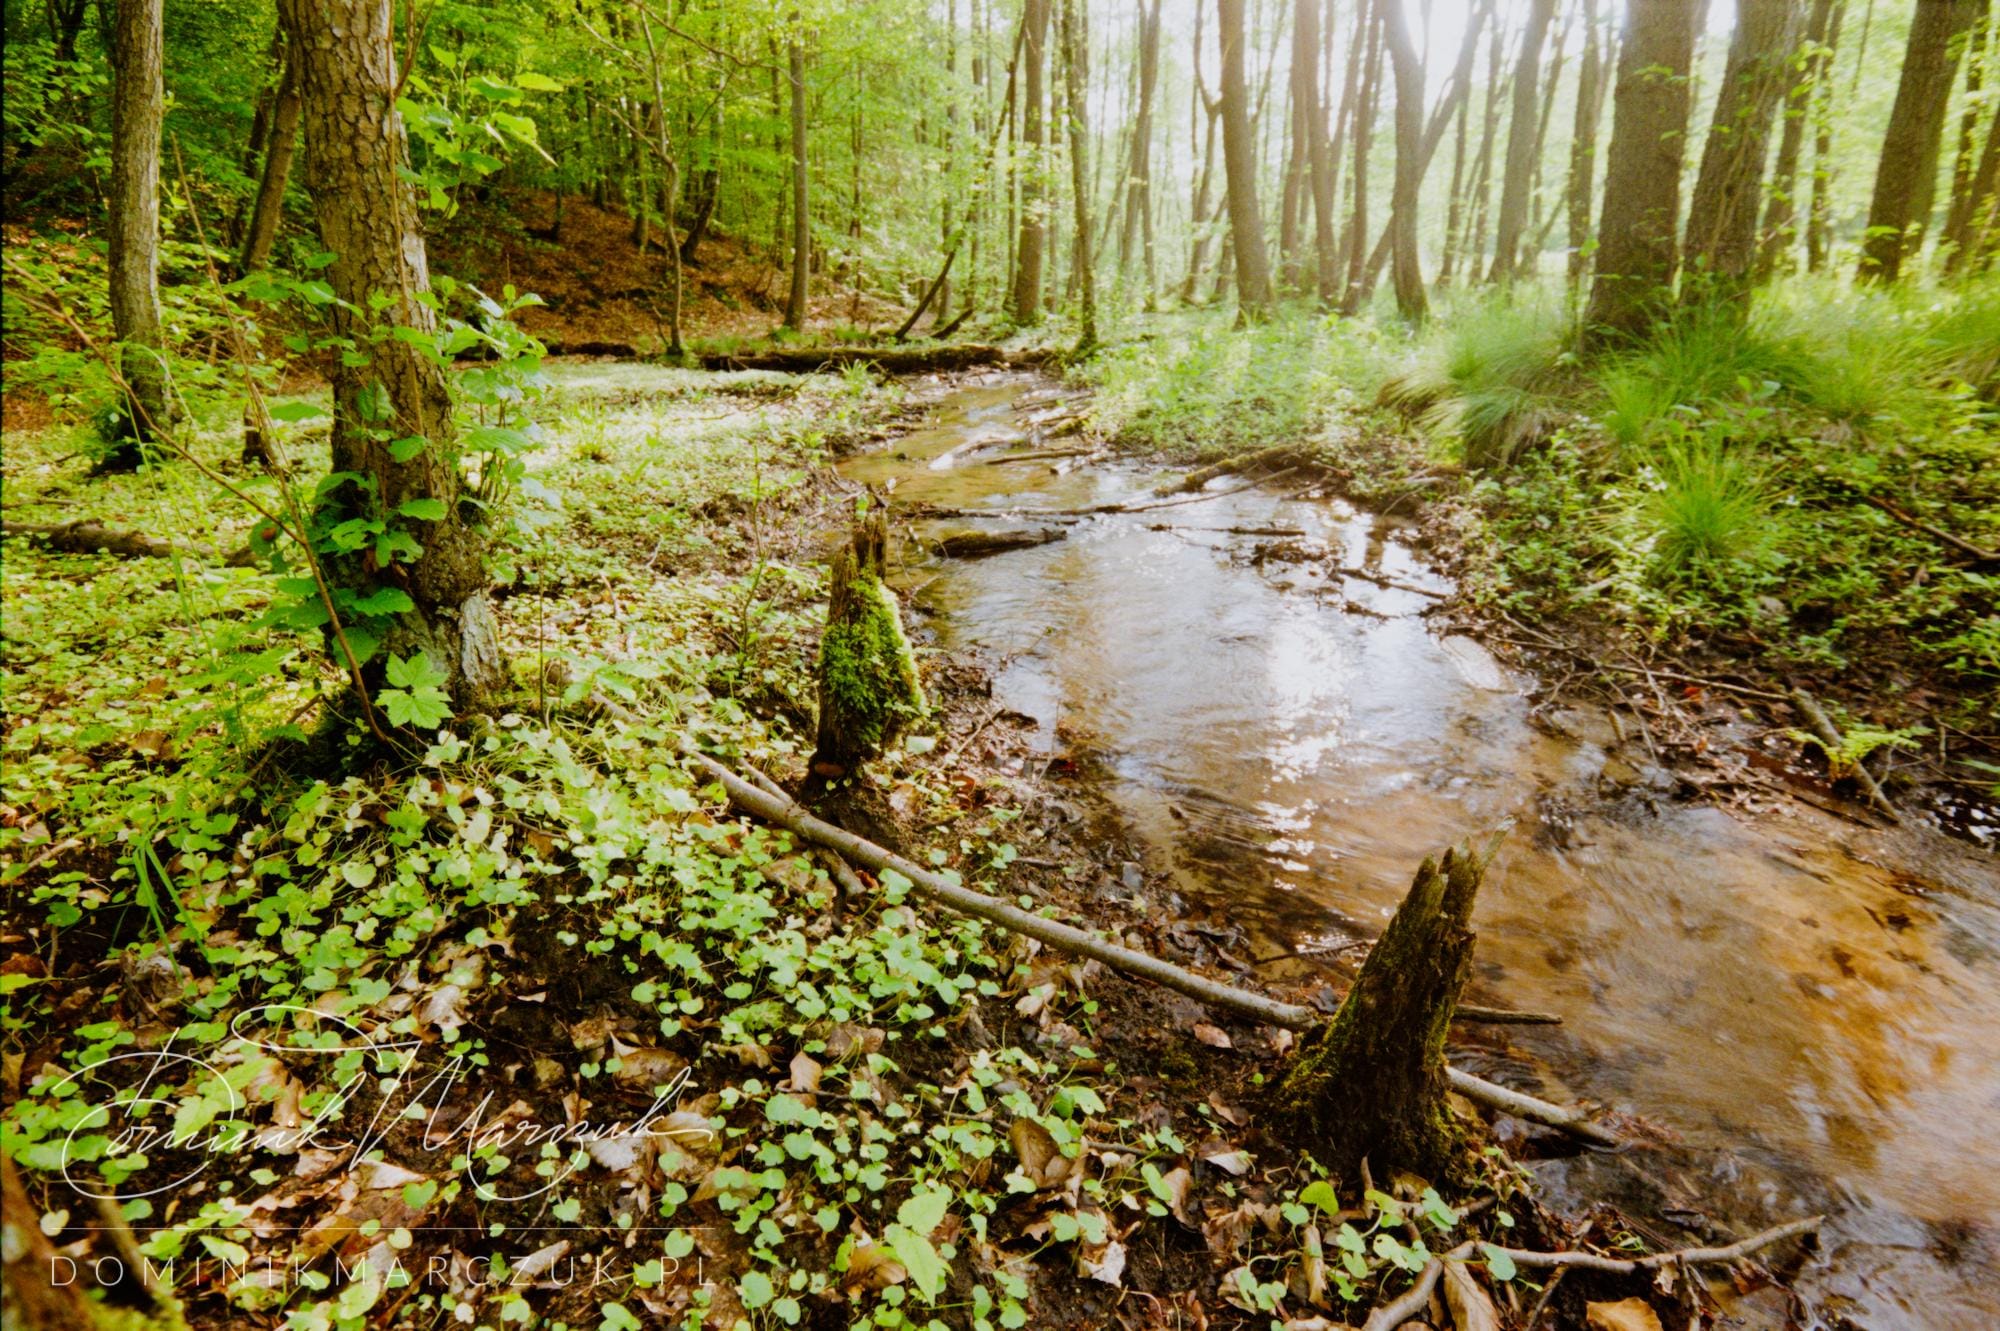
Here's an edit of another film photo: a lovely view of a sunlit riparian forest surrounding Bernard's Stream in Gdańsk.

On June 1st, I took my camera to document a lovely children's party. I didn't manage to fill my film roll, so in the evening, I set out to the Tricity Landscape Park to take some filler images. Little did I know, the walk would result in some of the best photos I'd taken so far in 2025. Here are two examples.
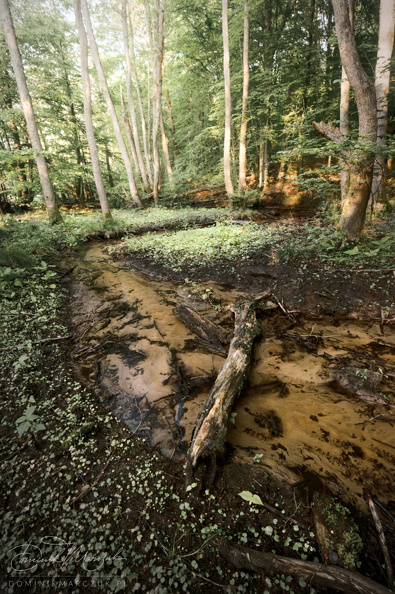
I was using my Nikon F100 loaded with the remainder of a roll of Kodak ColorPlus 200. I walked along Bernard's Stream, a small creek that joins the much more widely known Oliwa Stream. The riparian forest that surrounds the stream is quite tricky to navigate due to the muddy and wet terrain, but I'm quite happy this didn't deter me. The edited image was taken with my 16-35 mm AF-S Nikkor lens at the widest focal length available. The aperture was f/5.6, and the shutter speed was 1/10 second. I scanned the neg using my usual scanning rig.
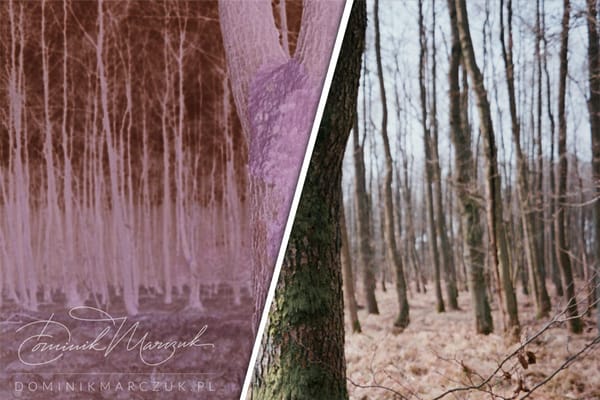
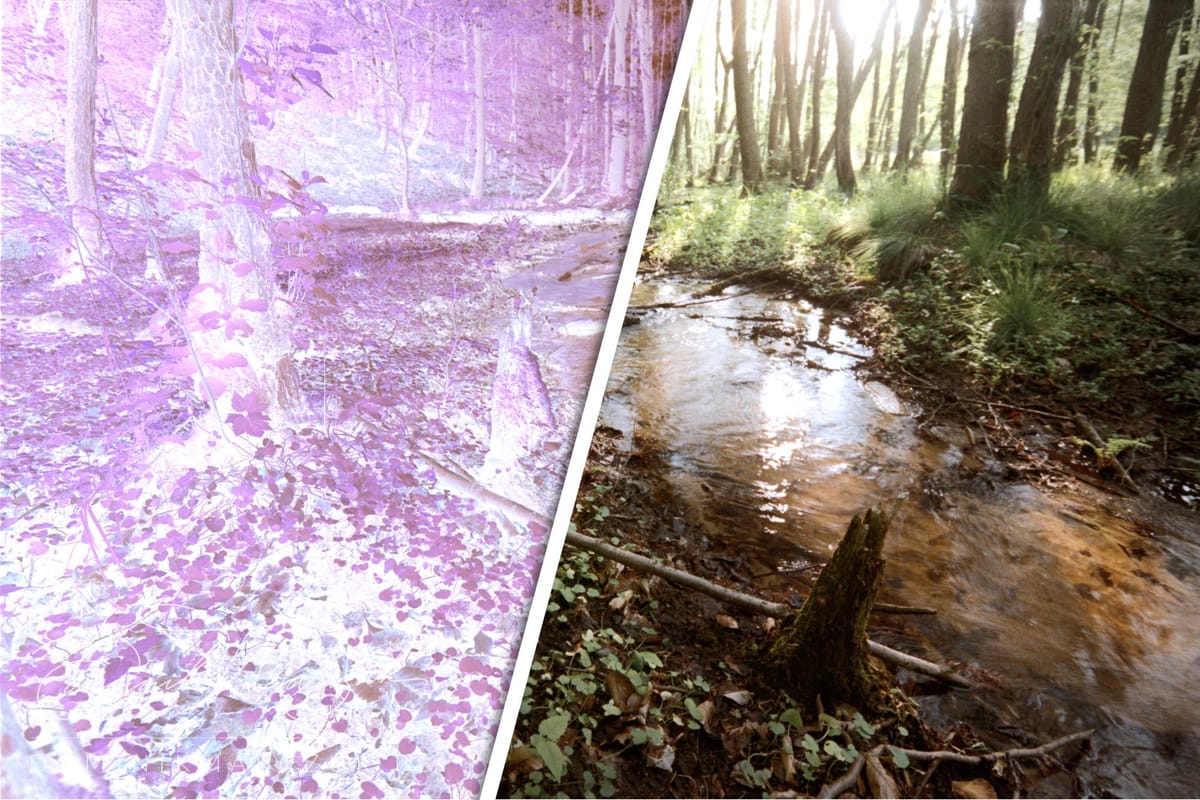
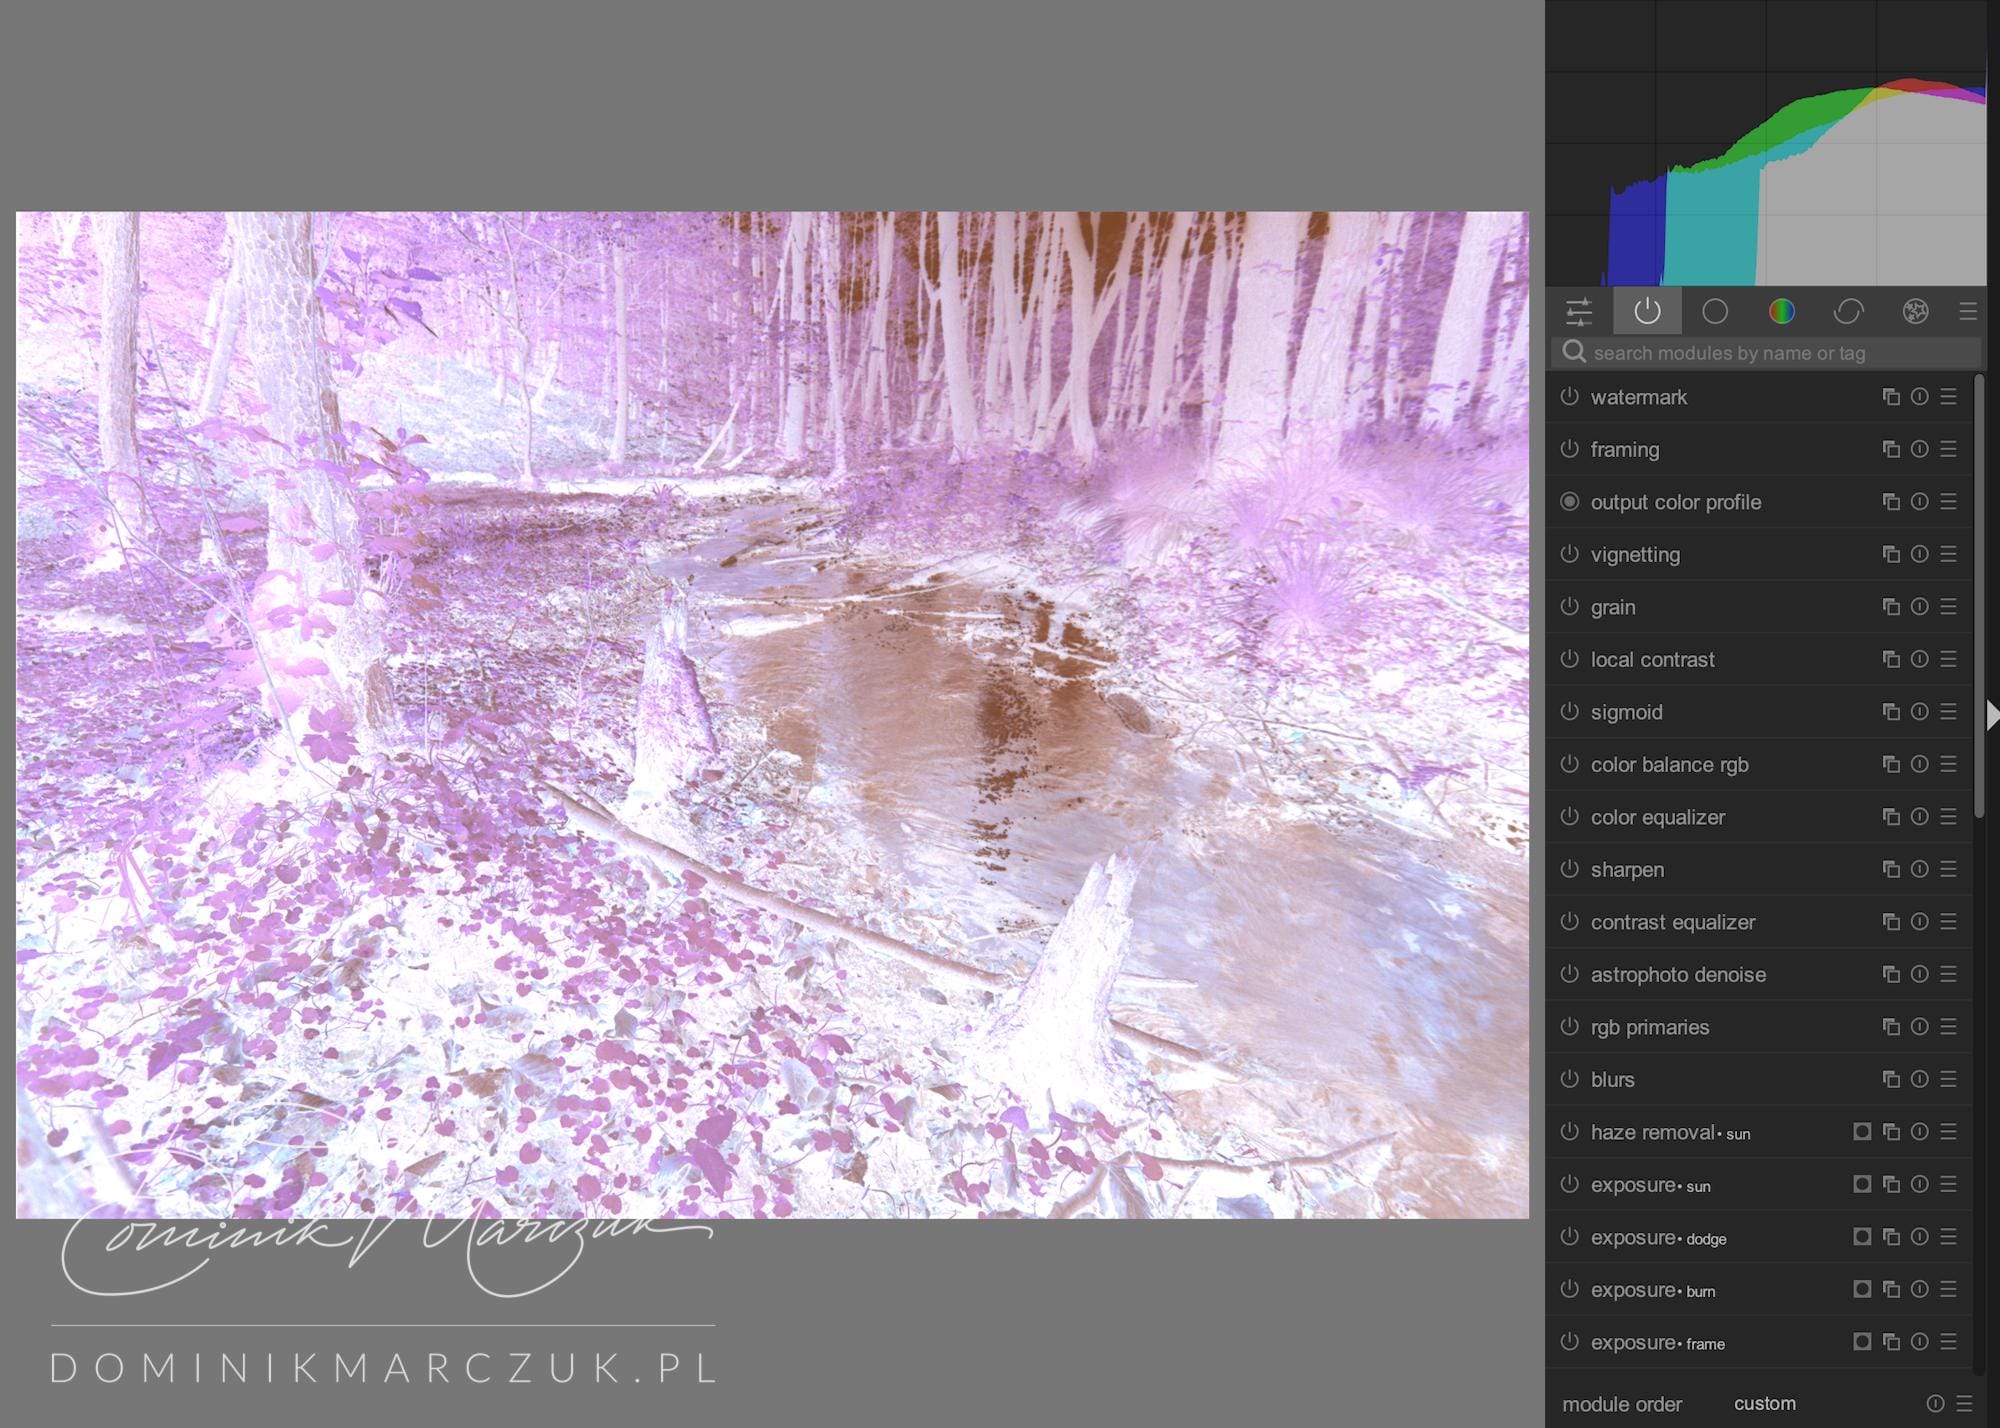
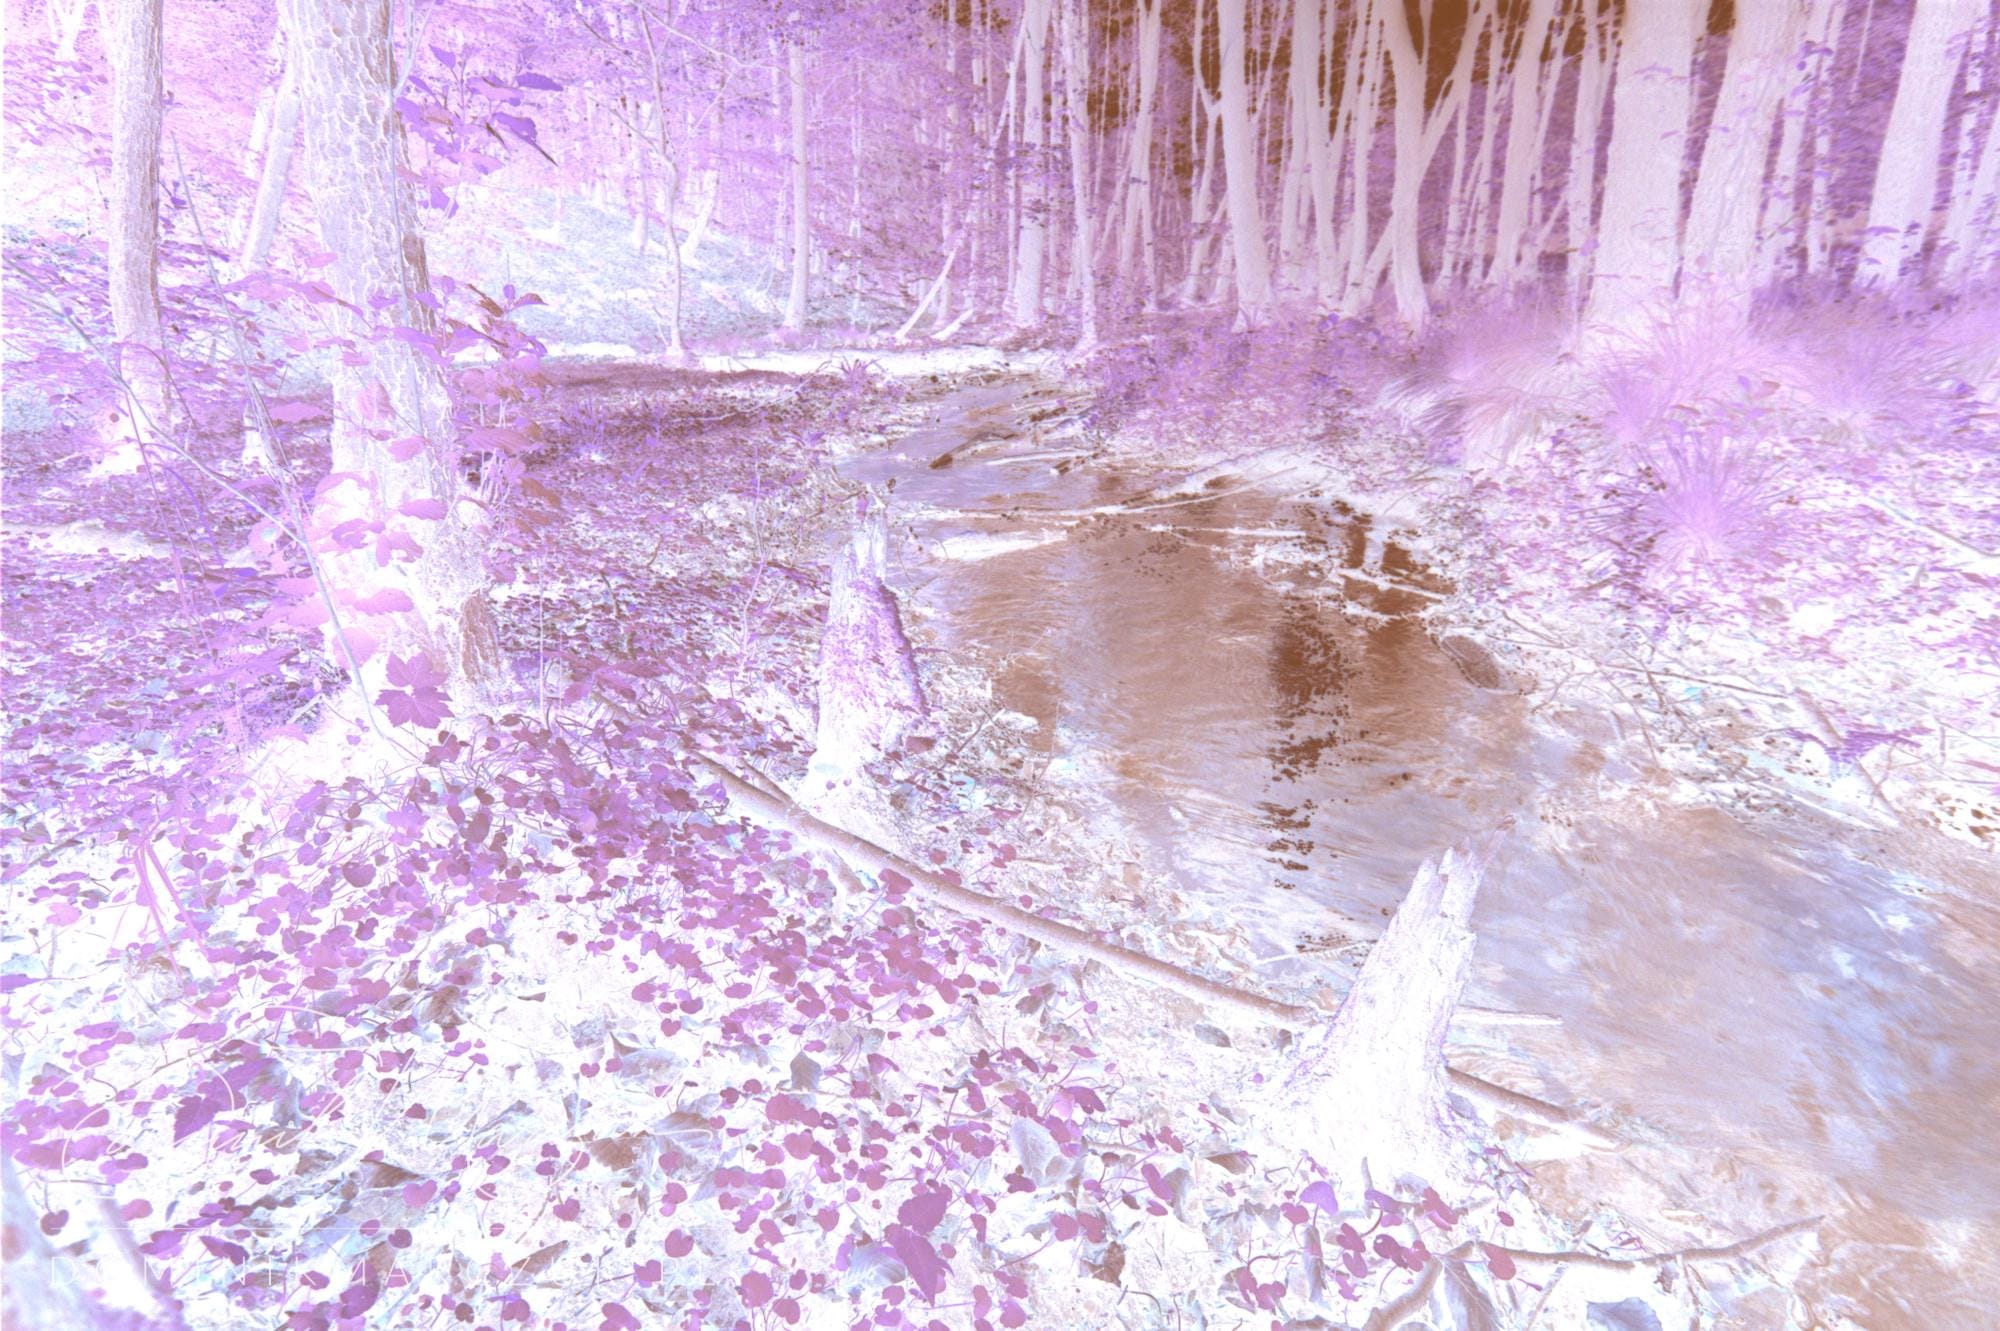
The original image was, of course, the negative. The area was full of lush green undergrowth, so it's no wonder the negative is mostly purple. For simplicity's sake, I'll skip the straightening and cropping, which are a part of every film photo edit. Also, I'm not going to mention the module order change as I always make sure exposure changes are applied after negadoctor.
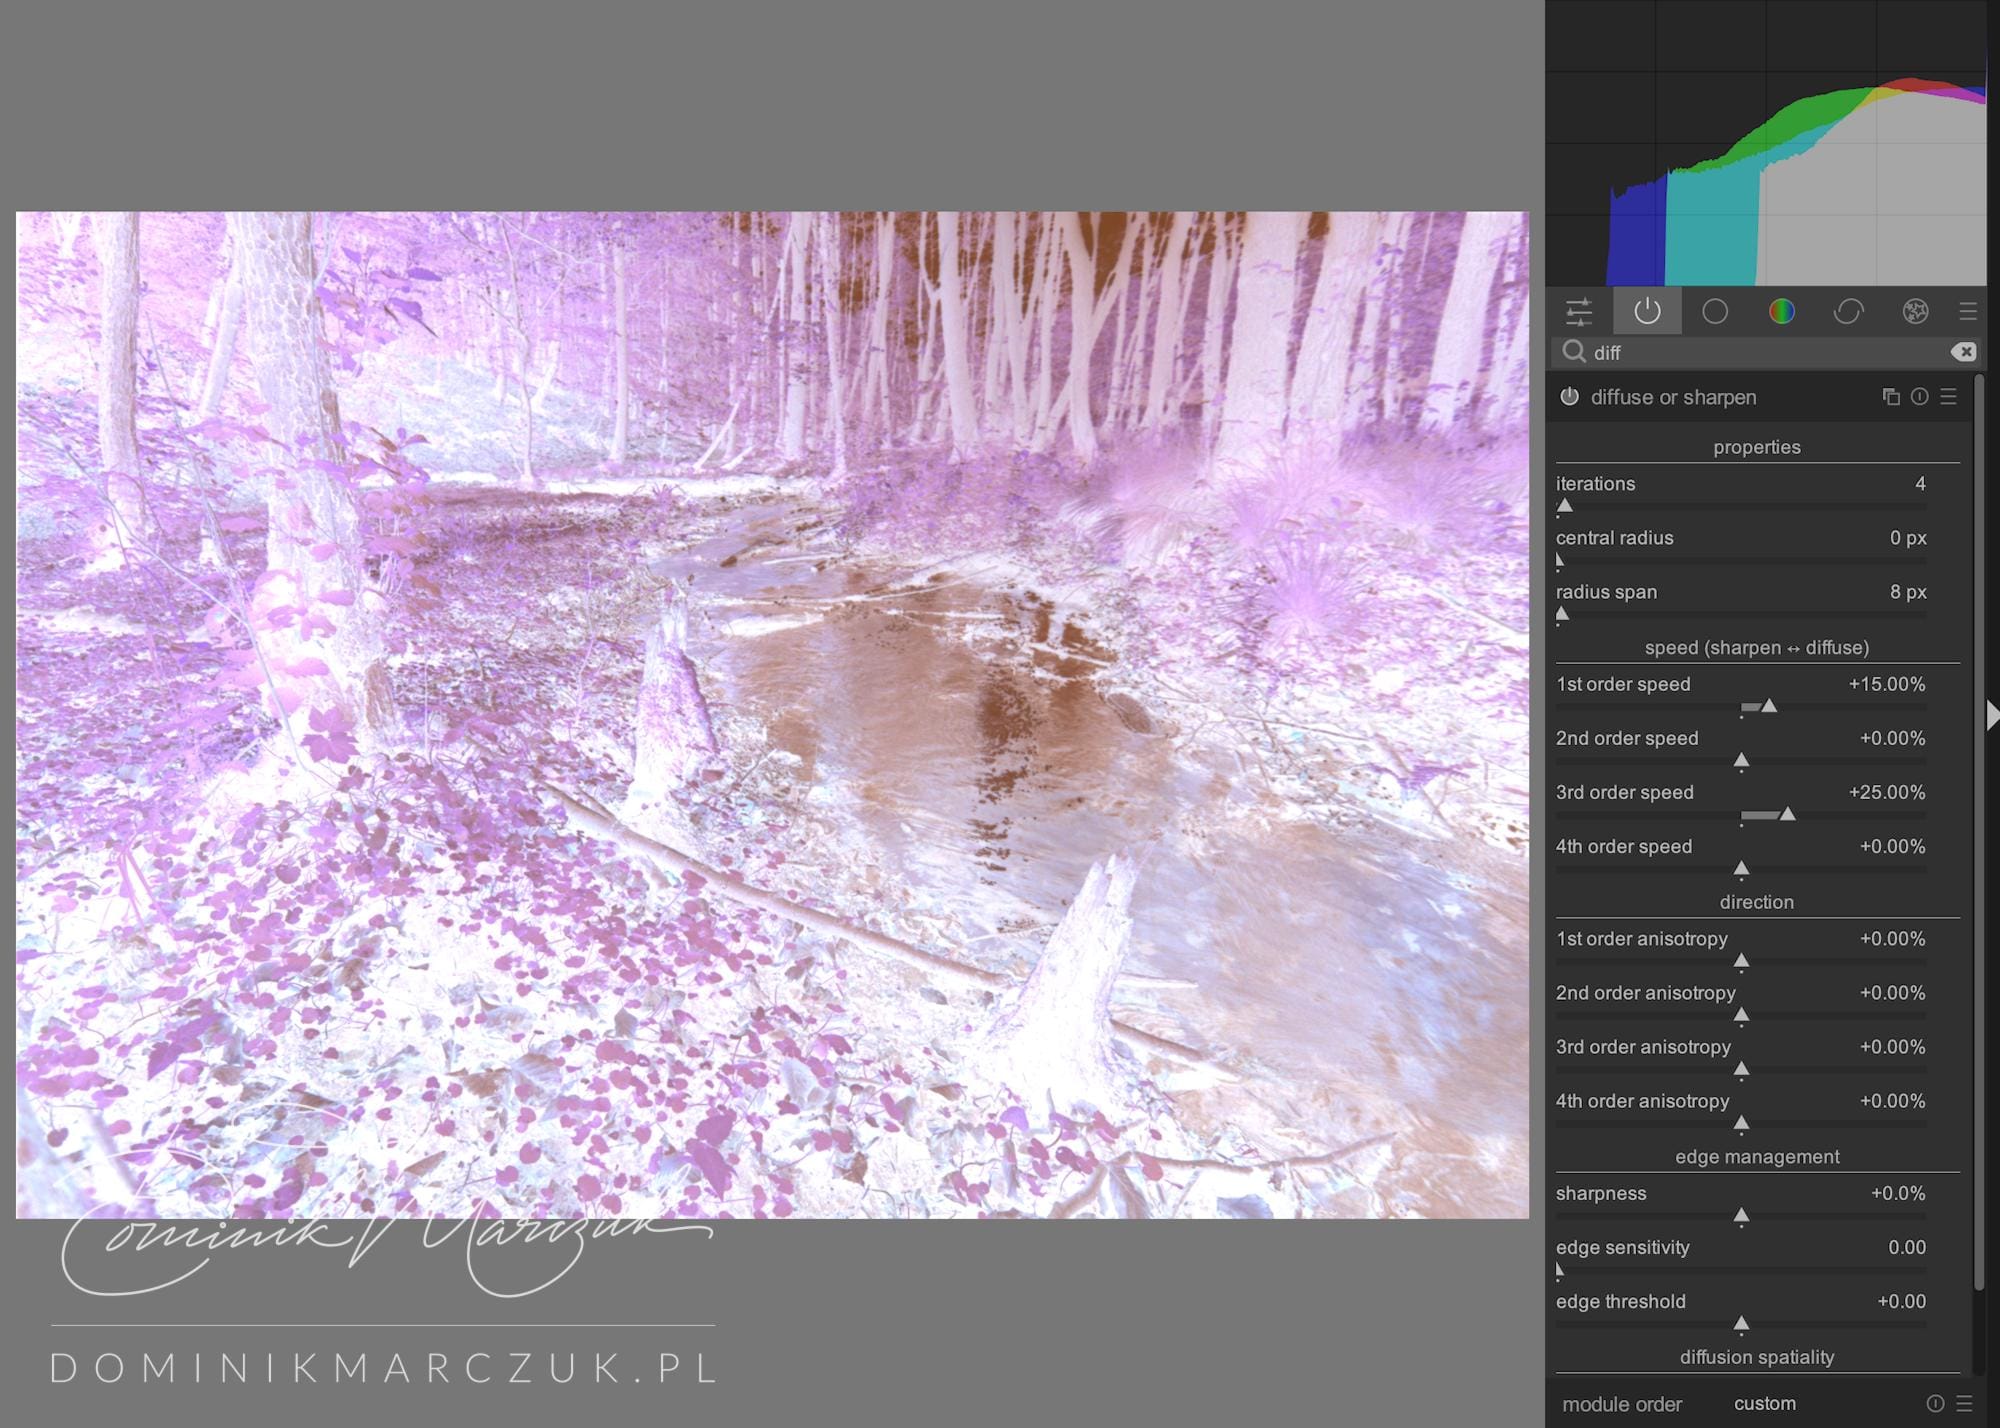
My usual step before converting the negative is to apply some negative dehaze to soften the film grain. This has the downside of changing the image's brightness. This time, I decided to go with an experimental grain treatment: I used the diffuse and sharpen module to soften the image without affecting the brightness. In hindsight, I think it wasn't the best choice. Some detail was lost in the process, not enough to affect images scaled down to social media sizes, but definitely enough to make me rethink my decision before ordering a print.
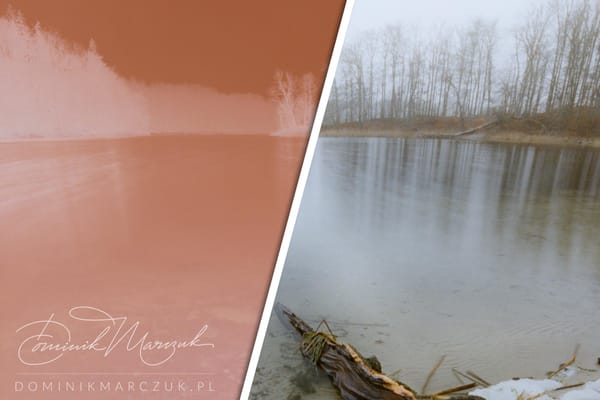
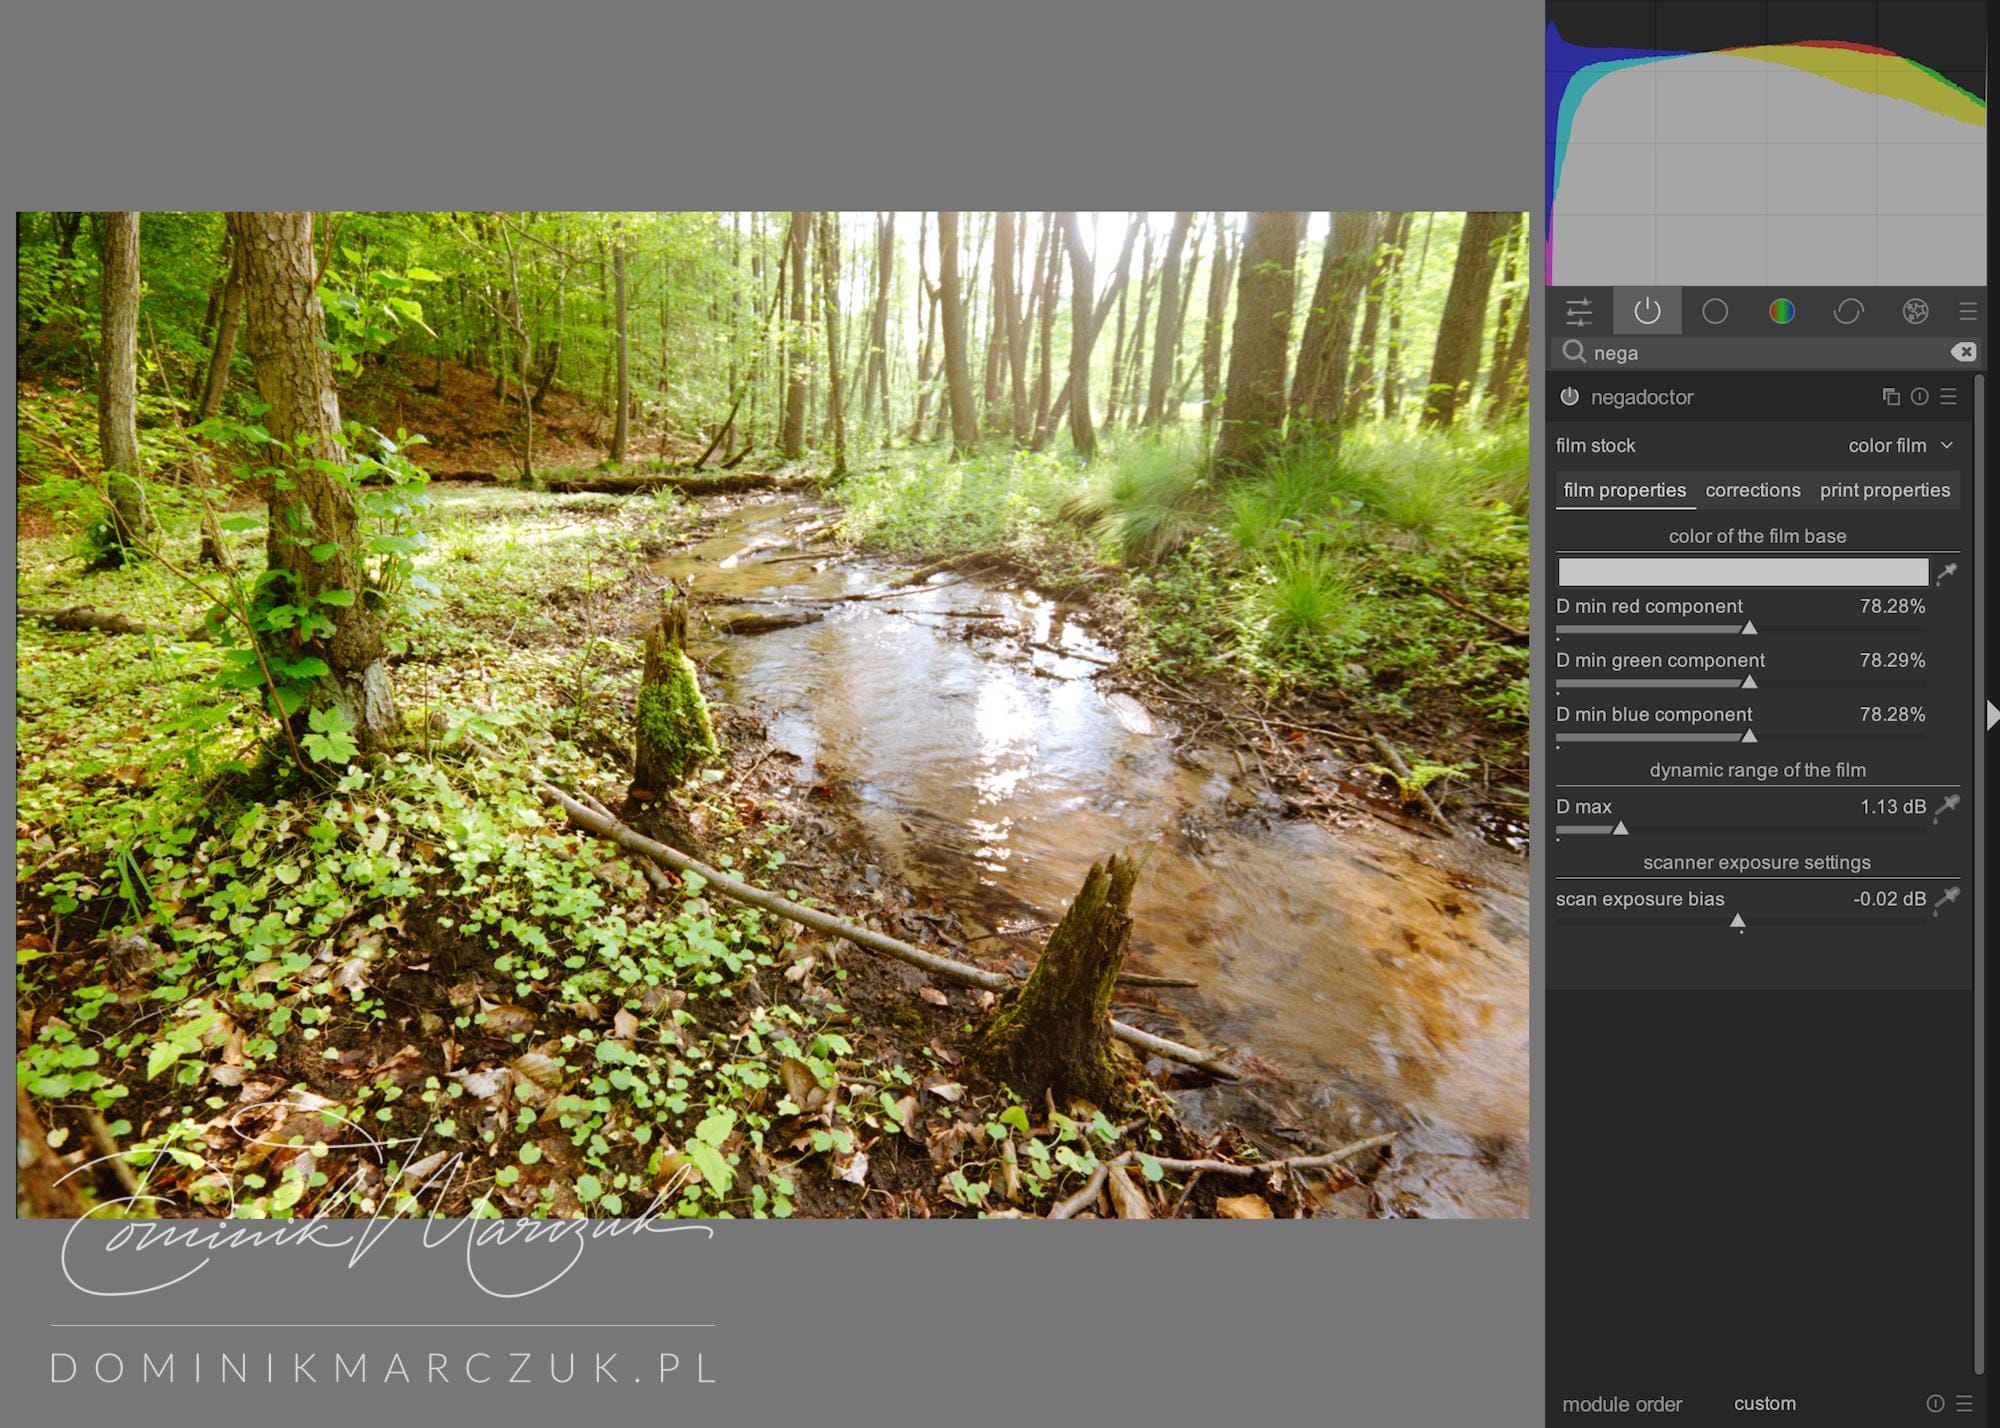
I converted the negative to a positive using the negadoctor module.
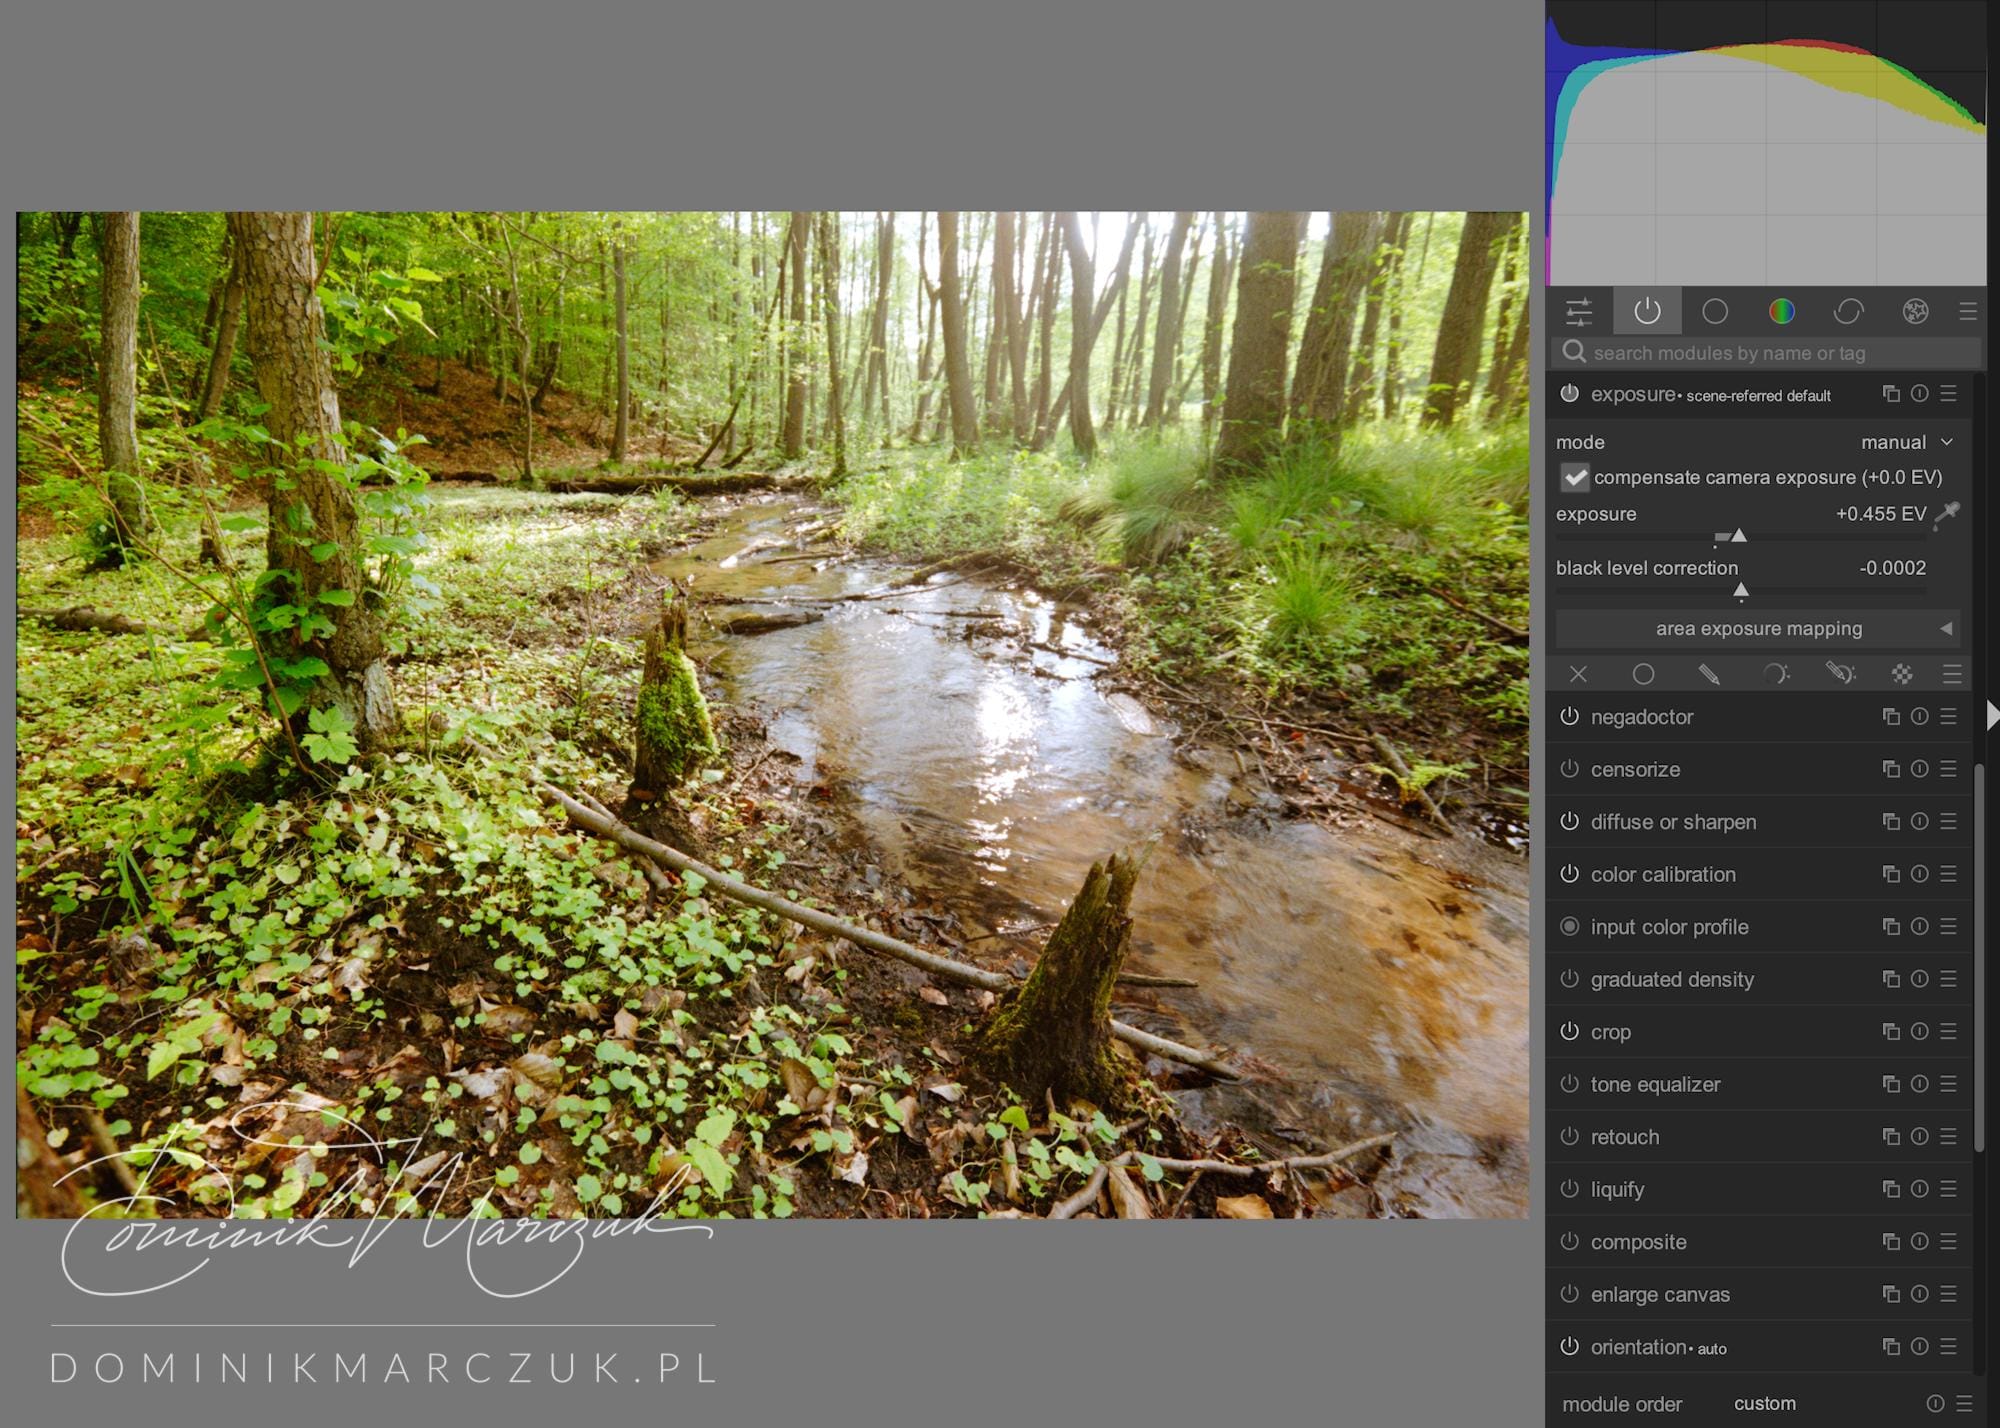
Immediately, I noticed that the global exposure was on the high side, so I reduced it a little.
I dropped the brightness in the shadows and midtones.
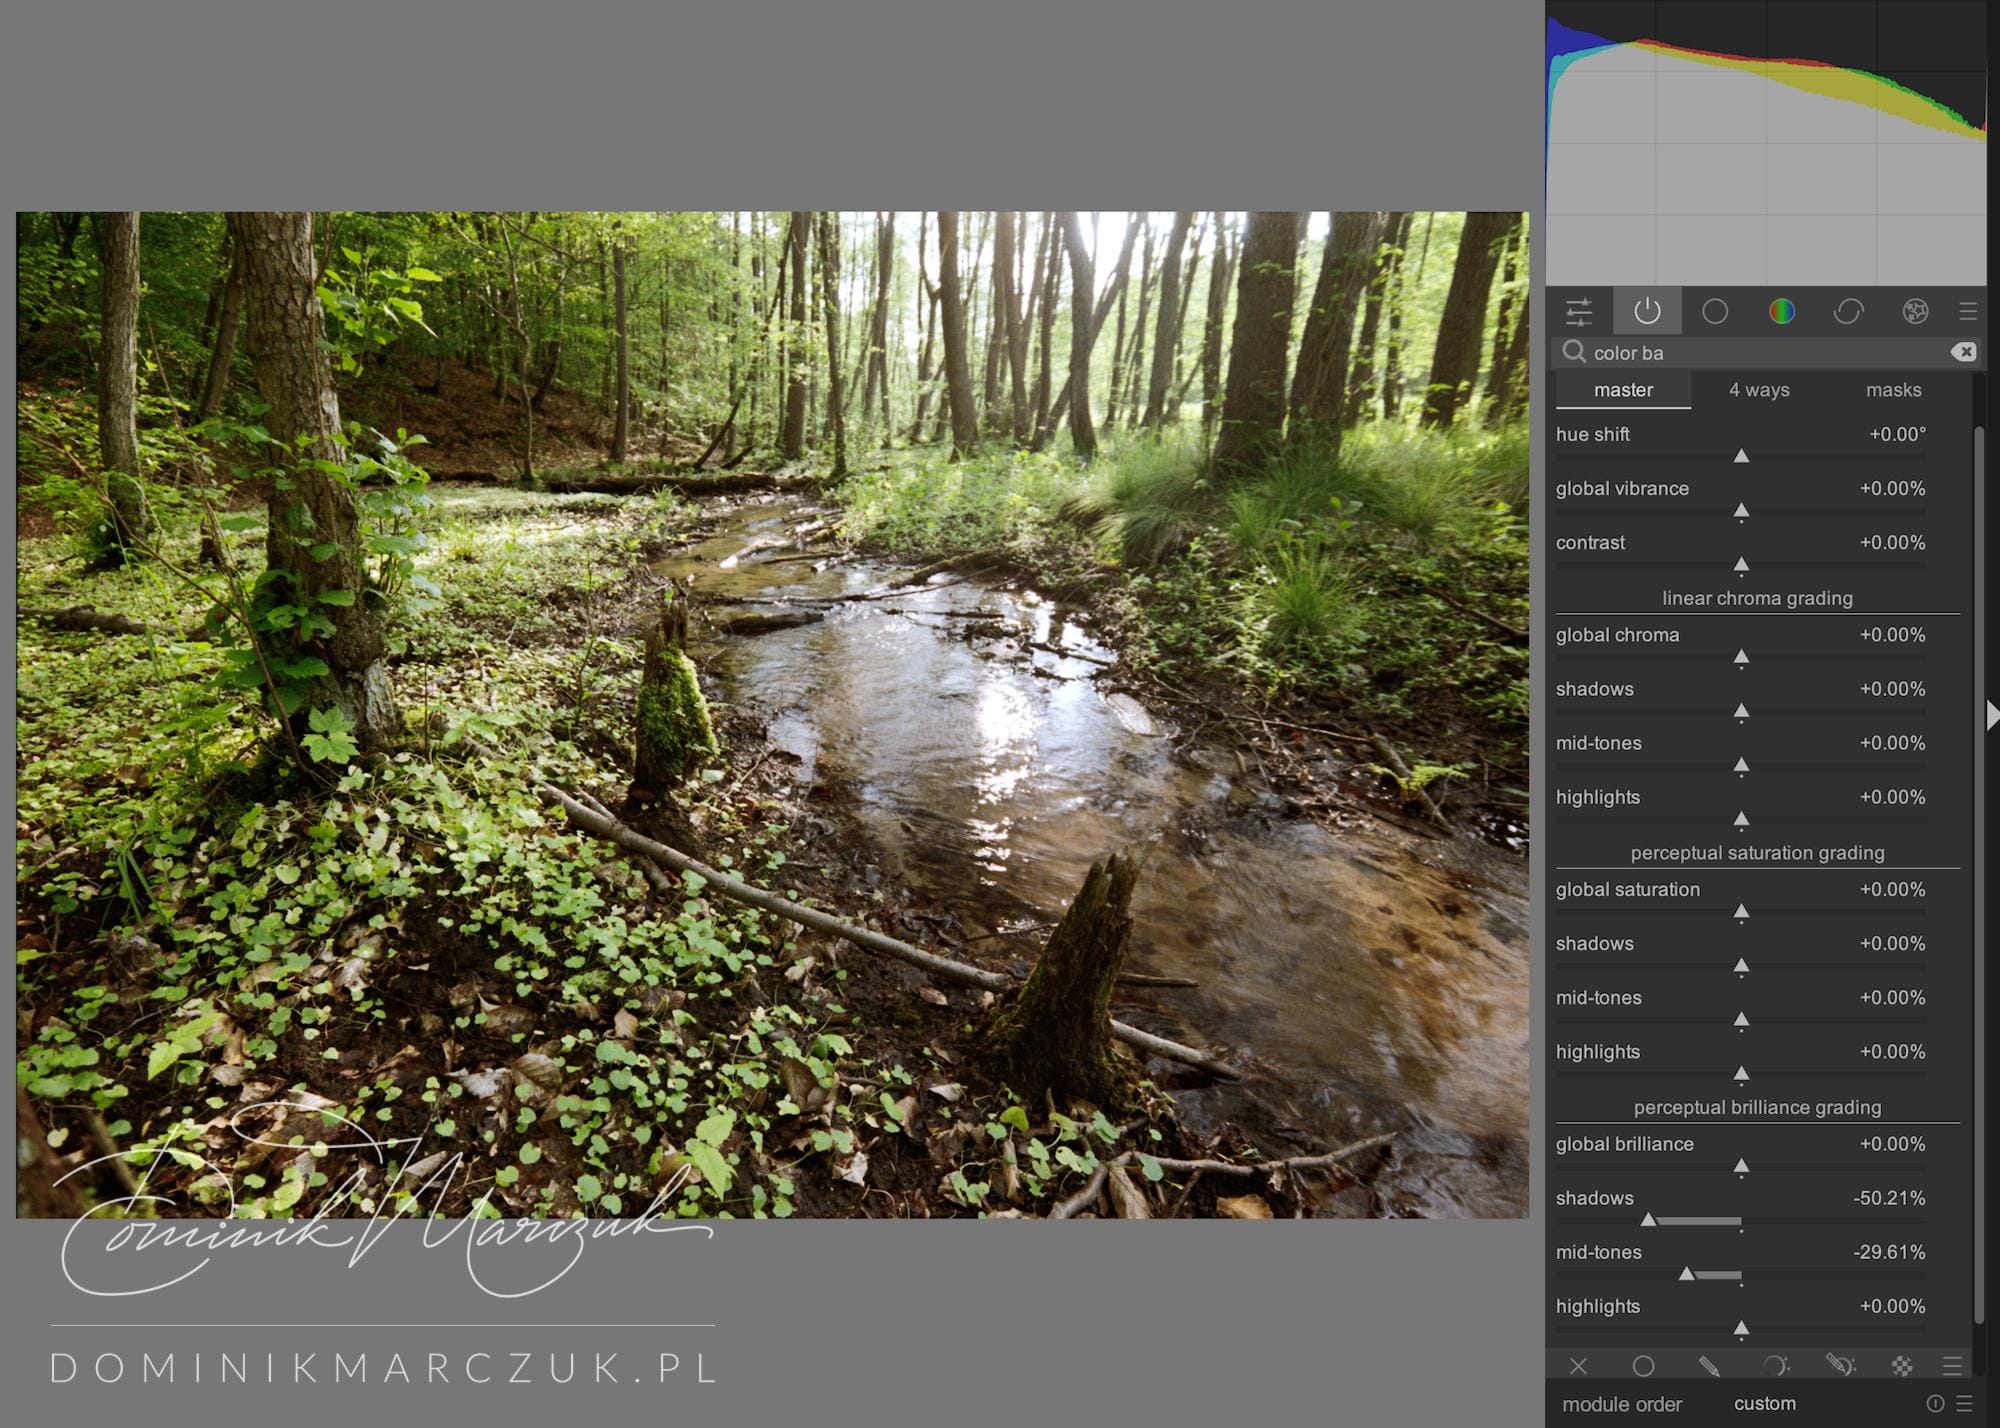
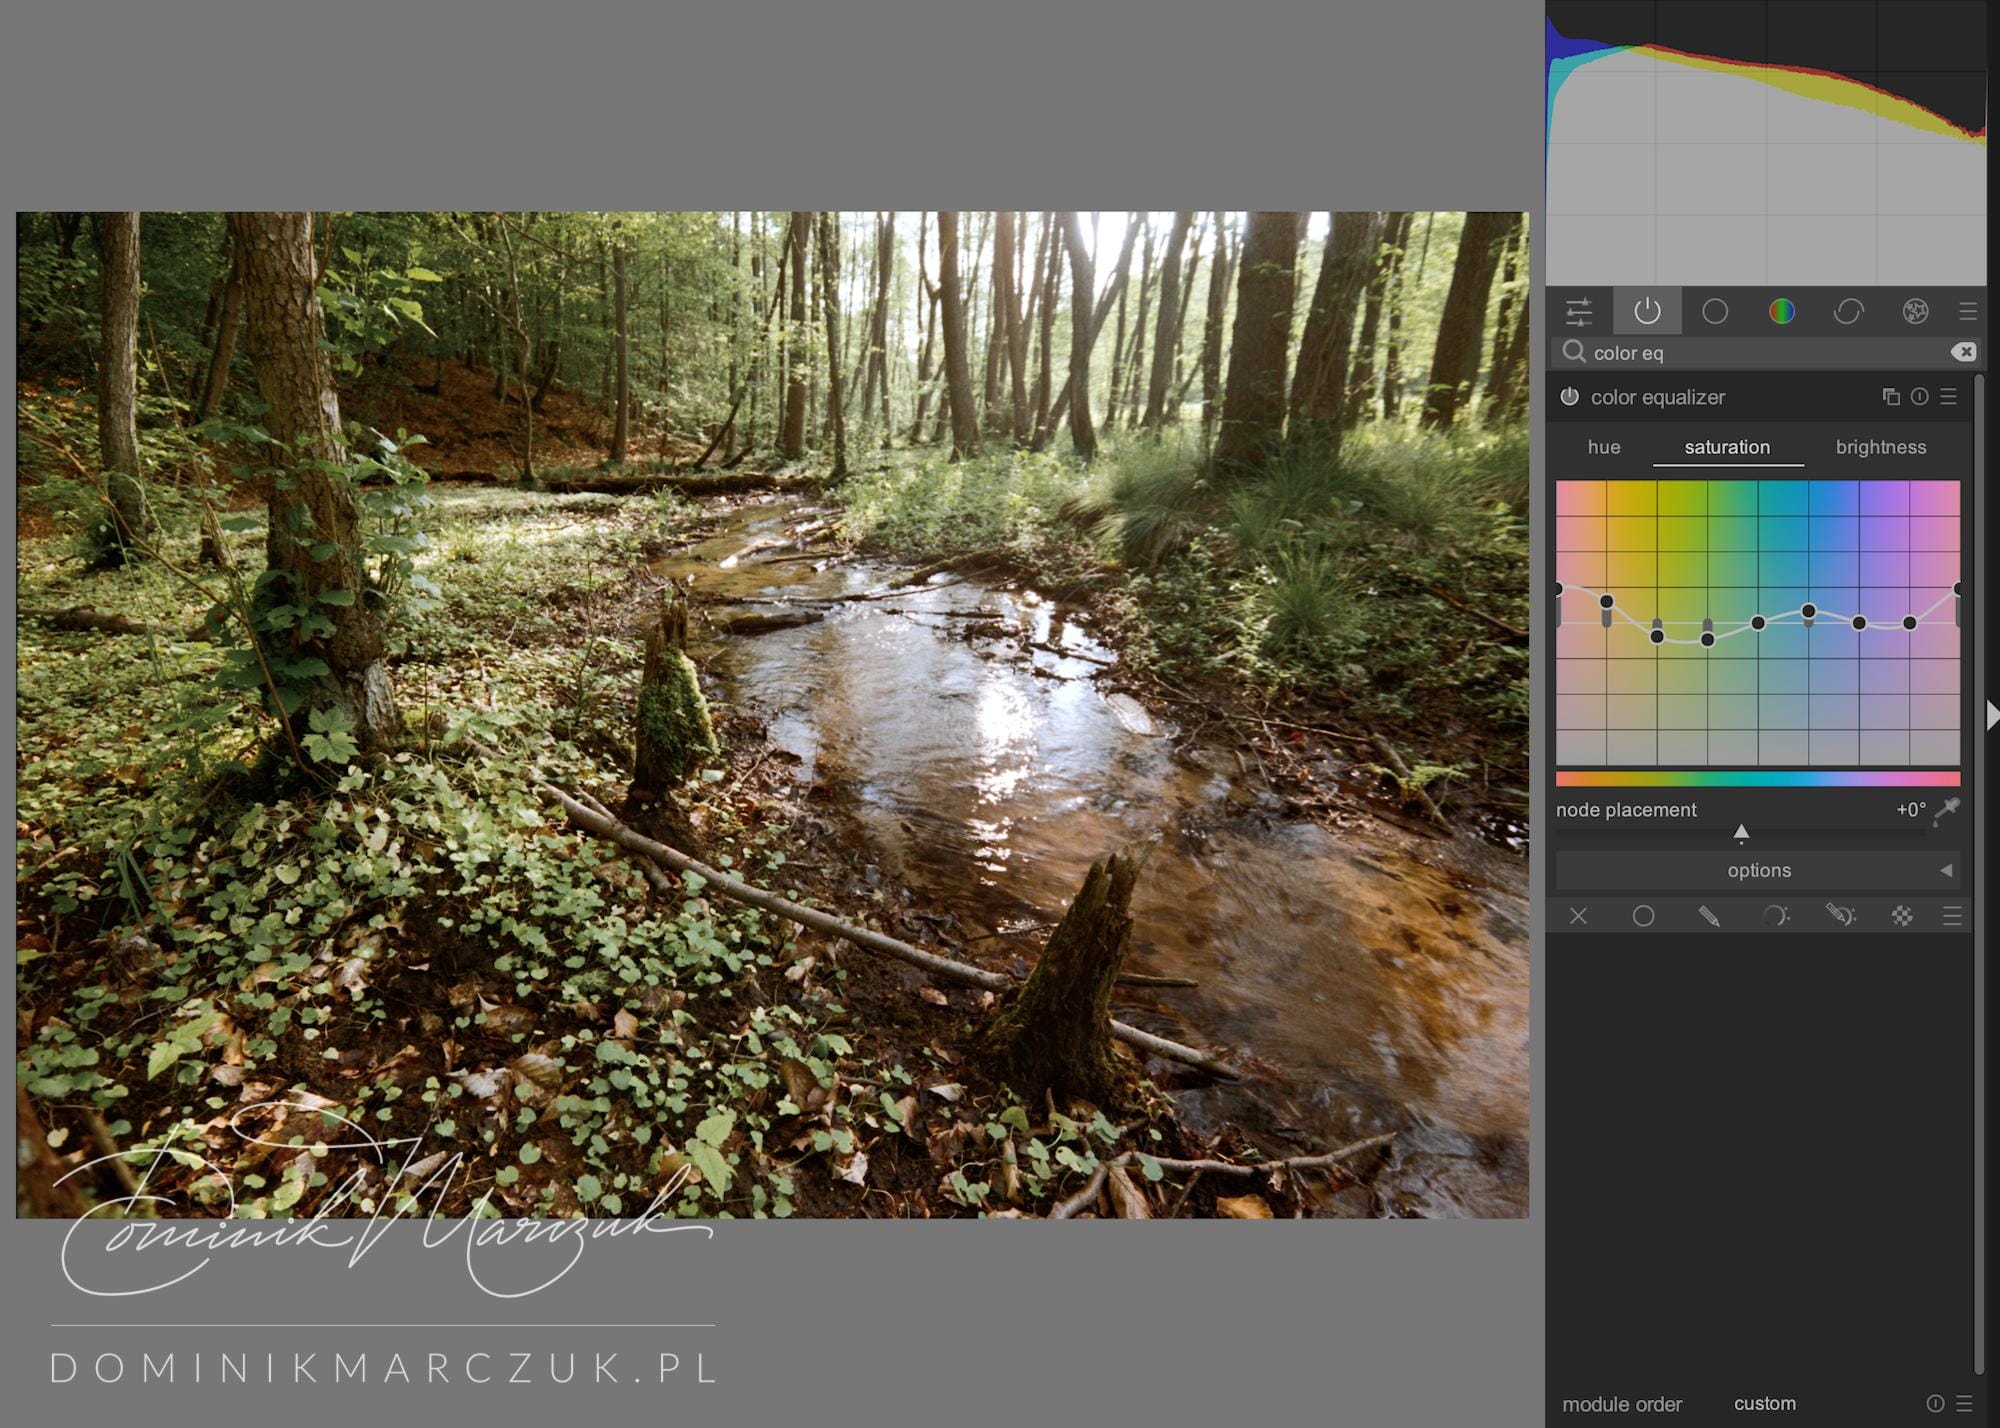
Then, I played around with the colour equaliser. I shifted the oranges and yellows towards red, but very subtly so. I also lowered the greens' brightness. Finally, I desaturated the greens while adding saturation to the oranges, the reds and the blues. At this point, I was happy with the colours in the photo.
I darkened some areas around the image's perimeter, concentrating the viewer's attention on the stream and the sunlit trees.
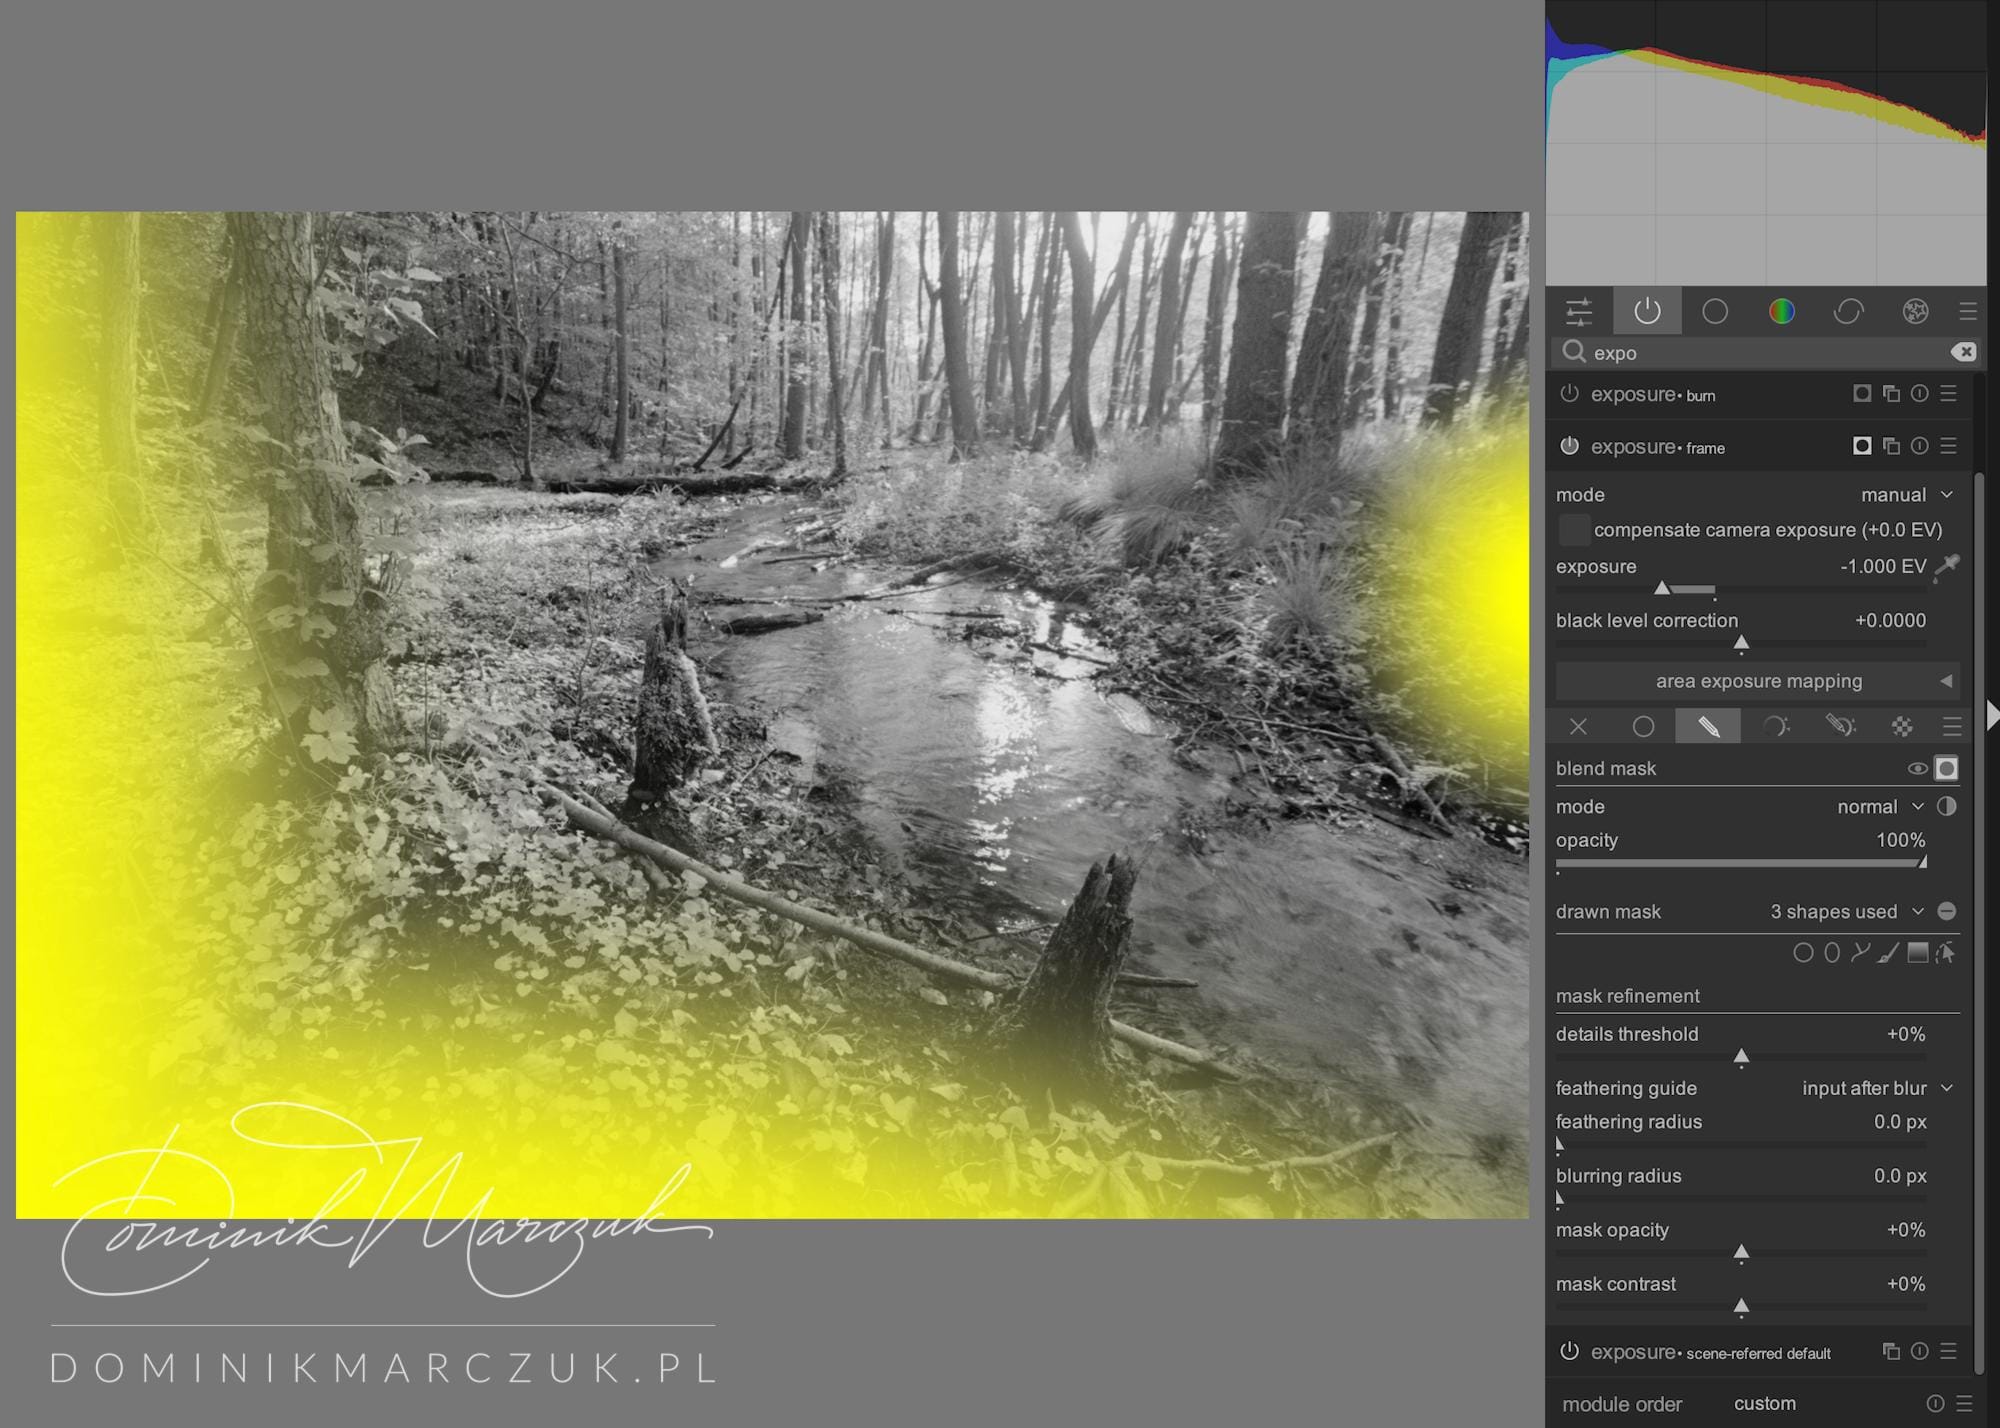

Exposure: frame
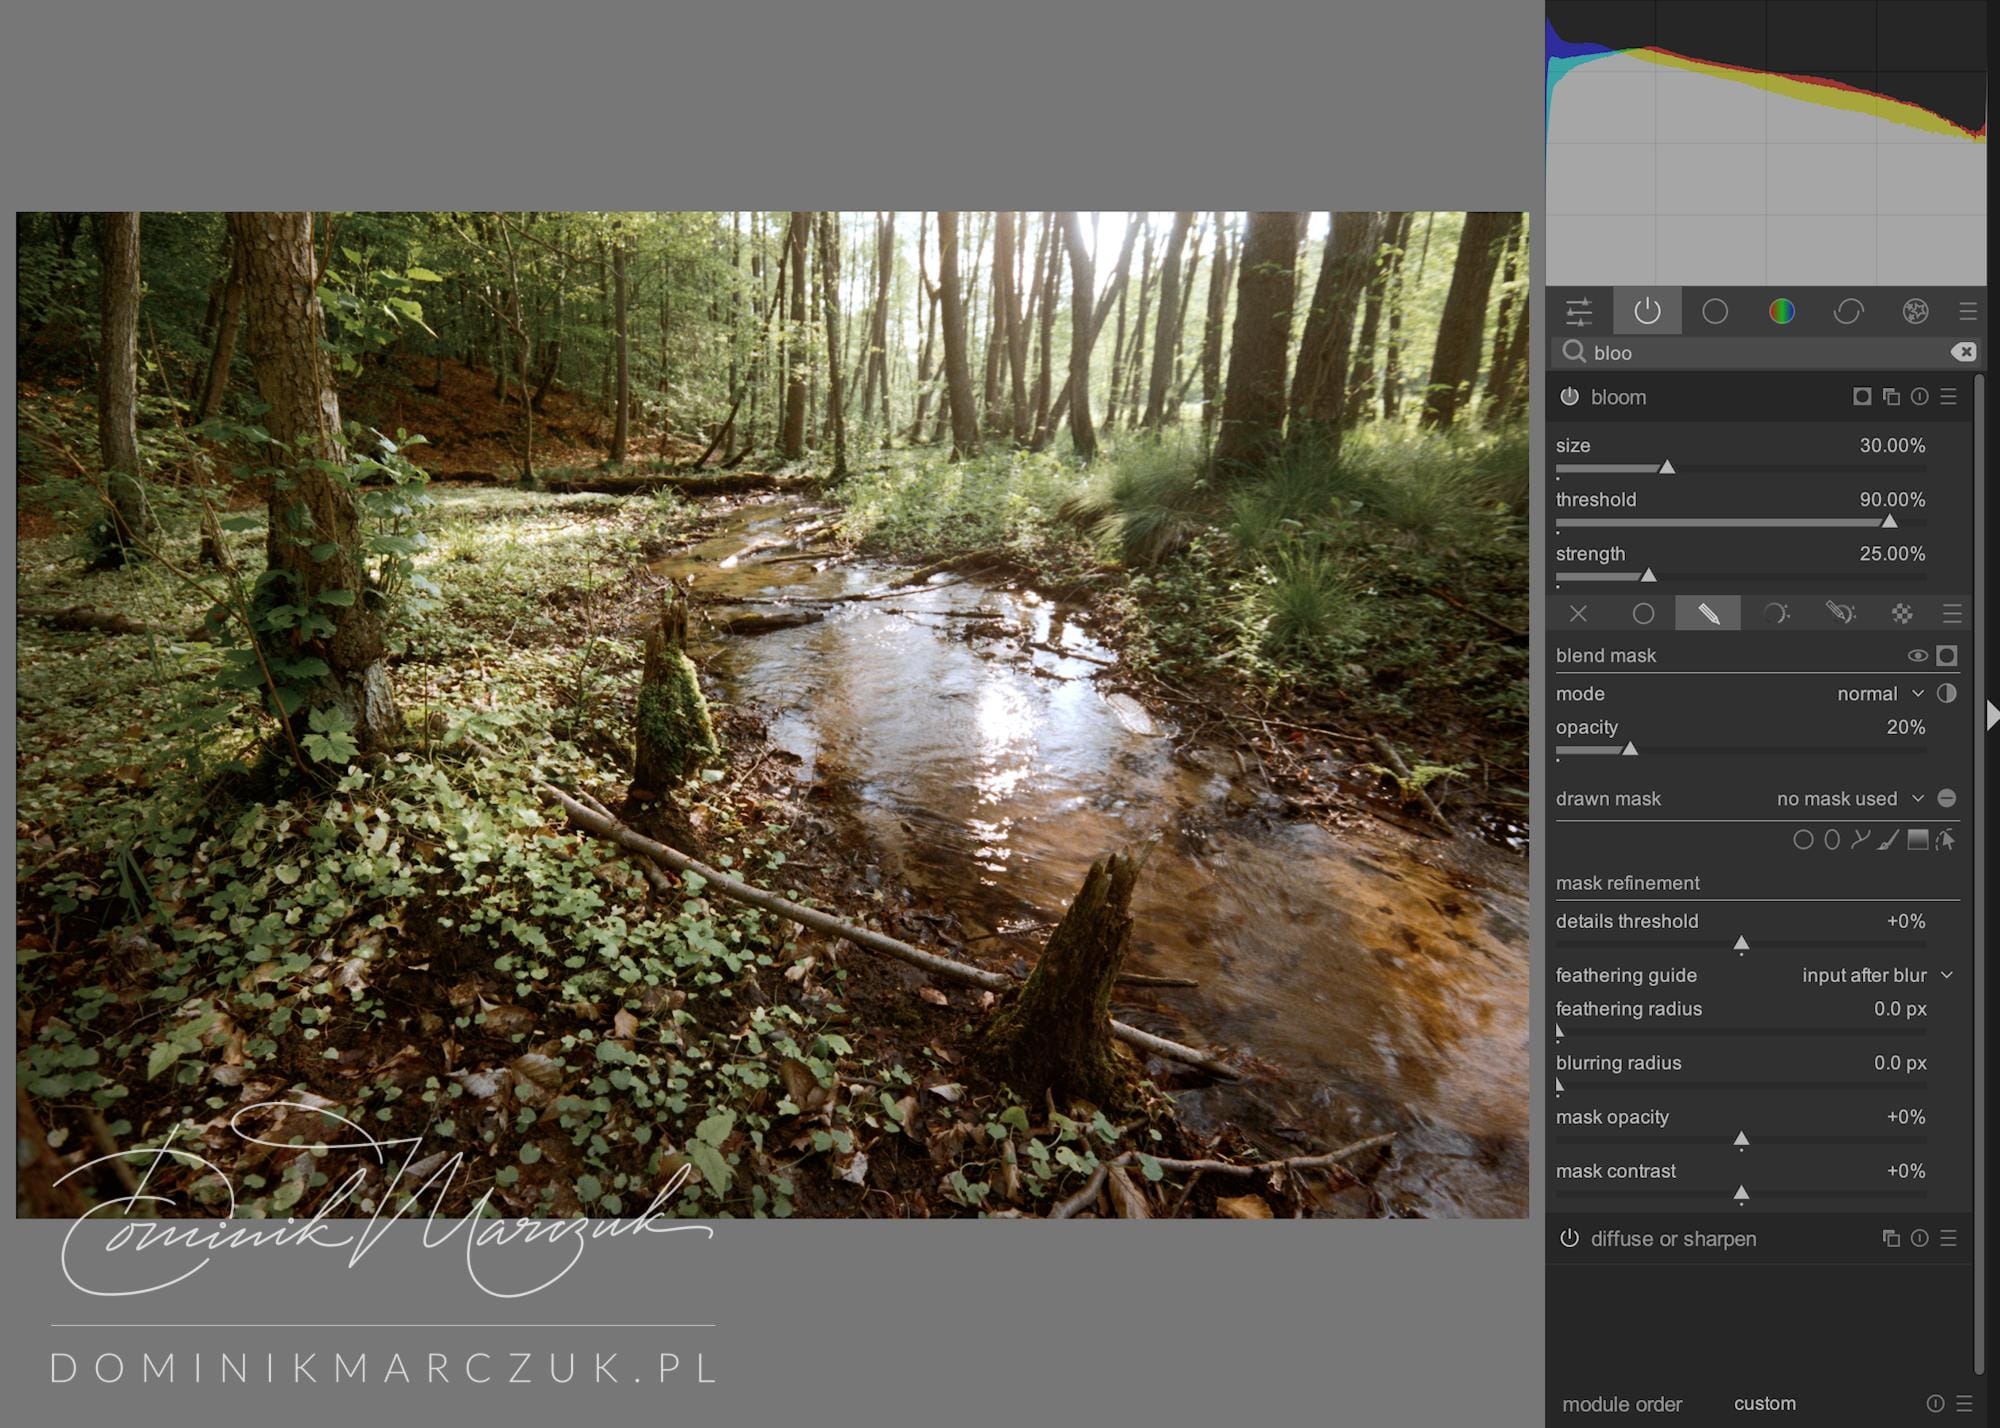
Then, I added a subtle bloom effect. I think it's rather overpowering, so I reduced its opacity to 20%.
To accentuate the sunlight peeking through the trees, I first added a mask with some negative dehaze.
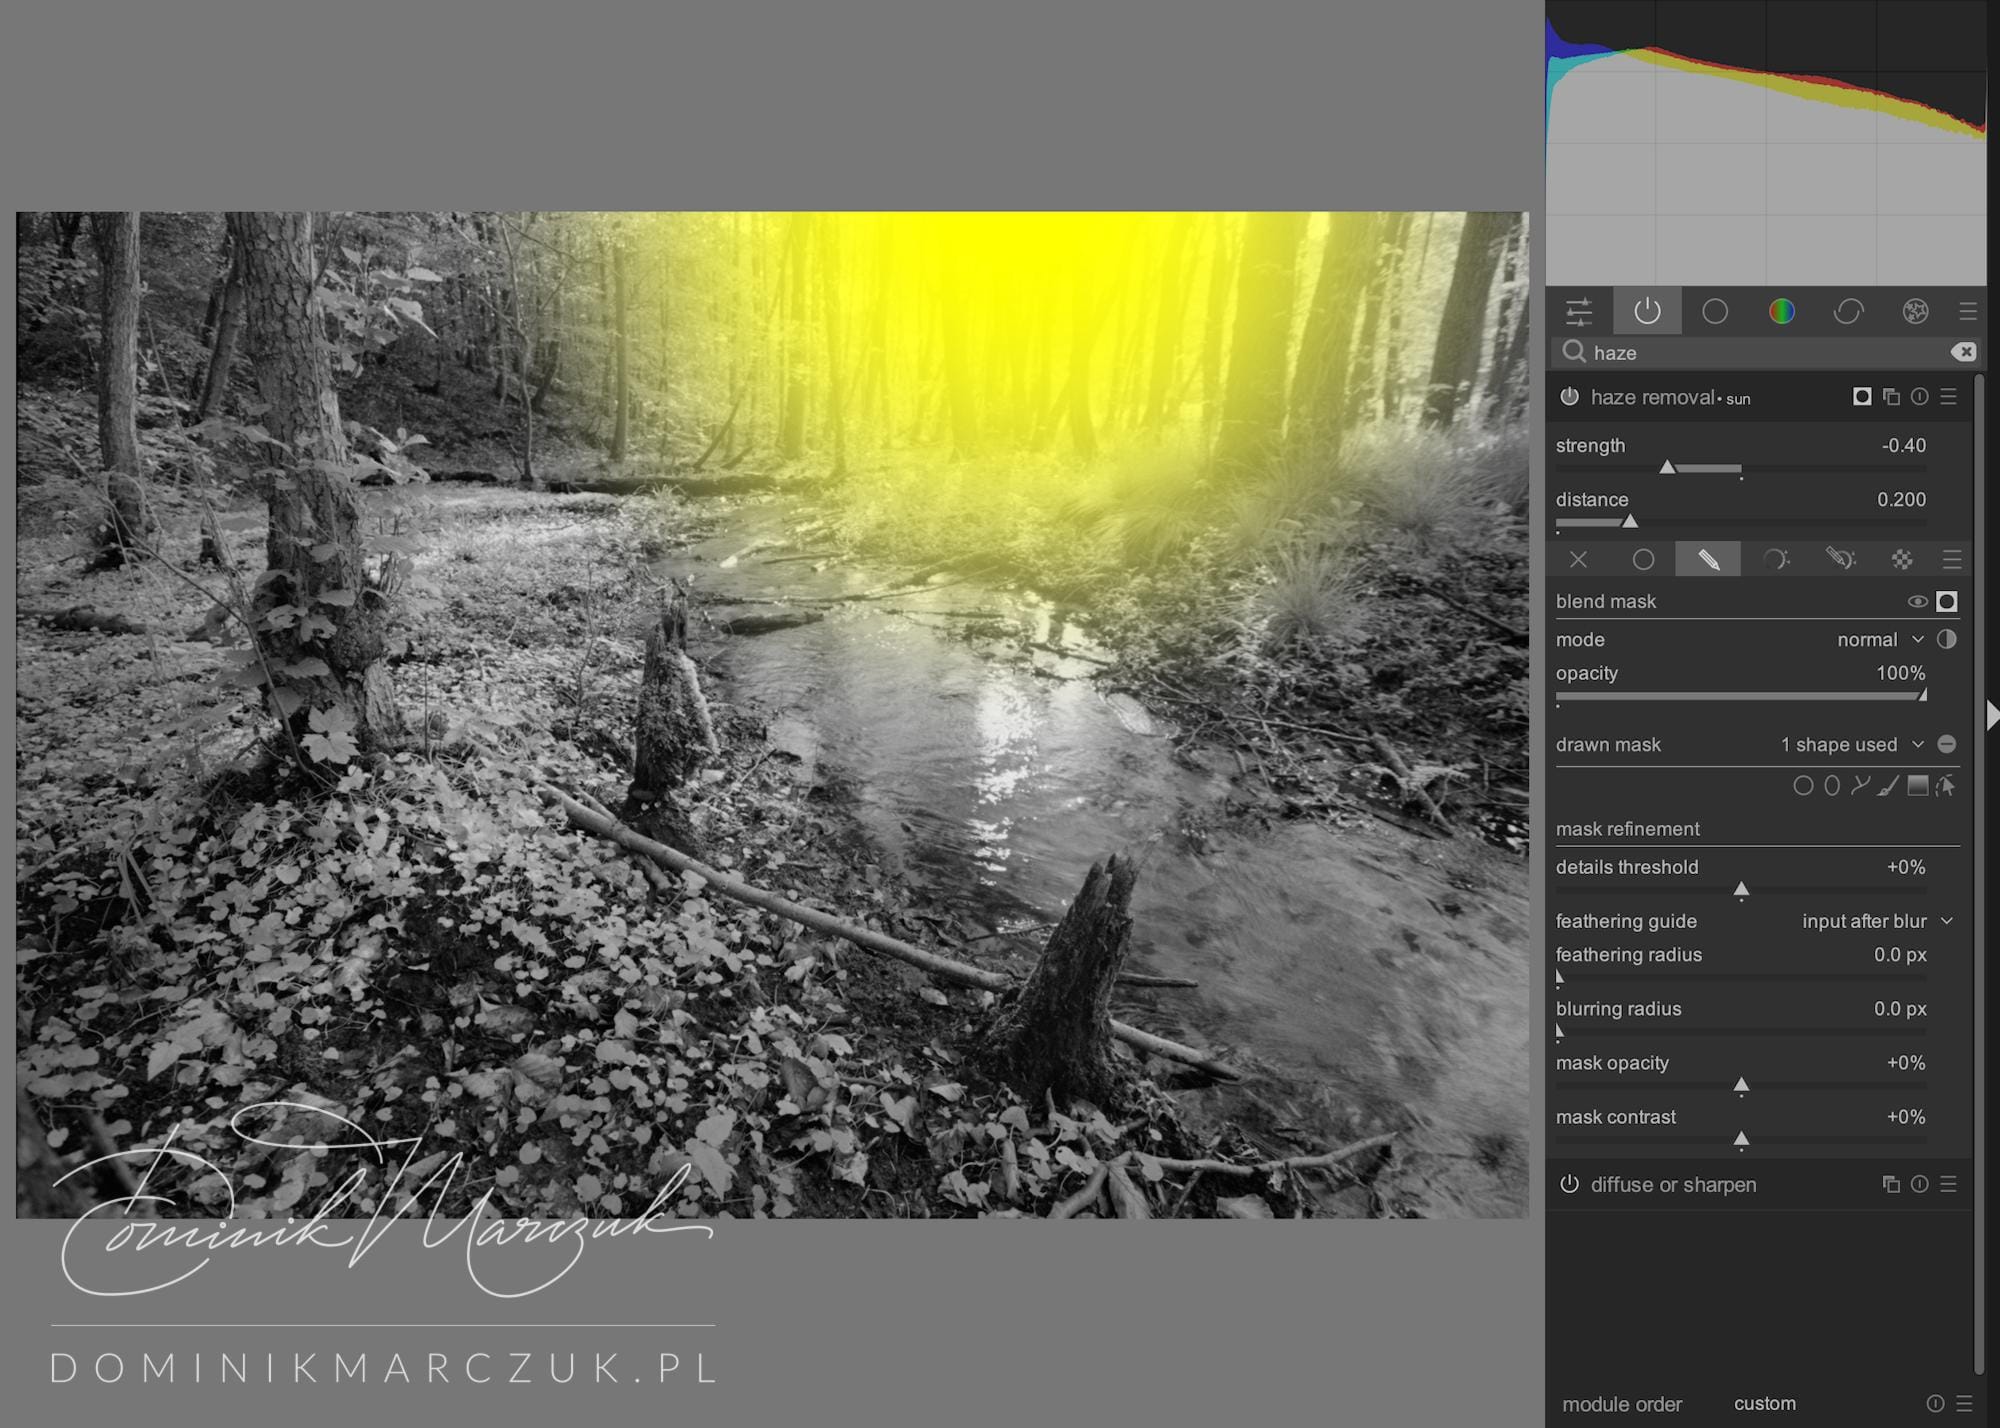

Haze removal: sun
Then, I boosted the exposure of the same area.
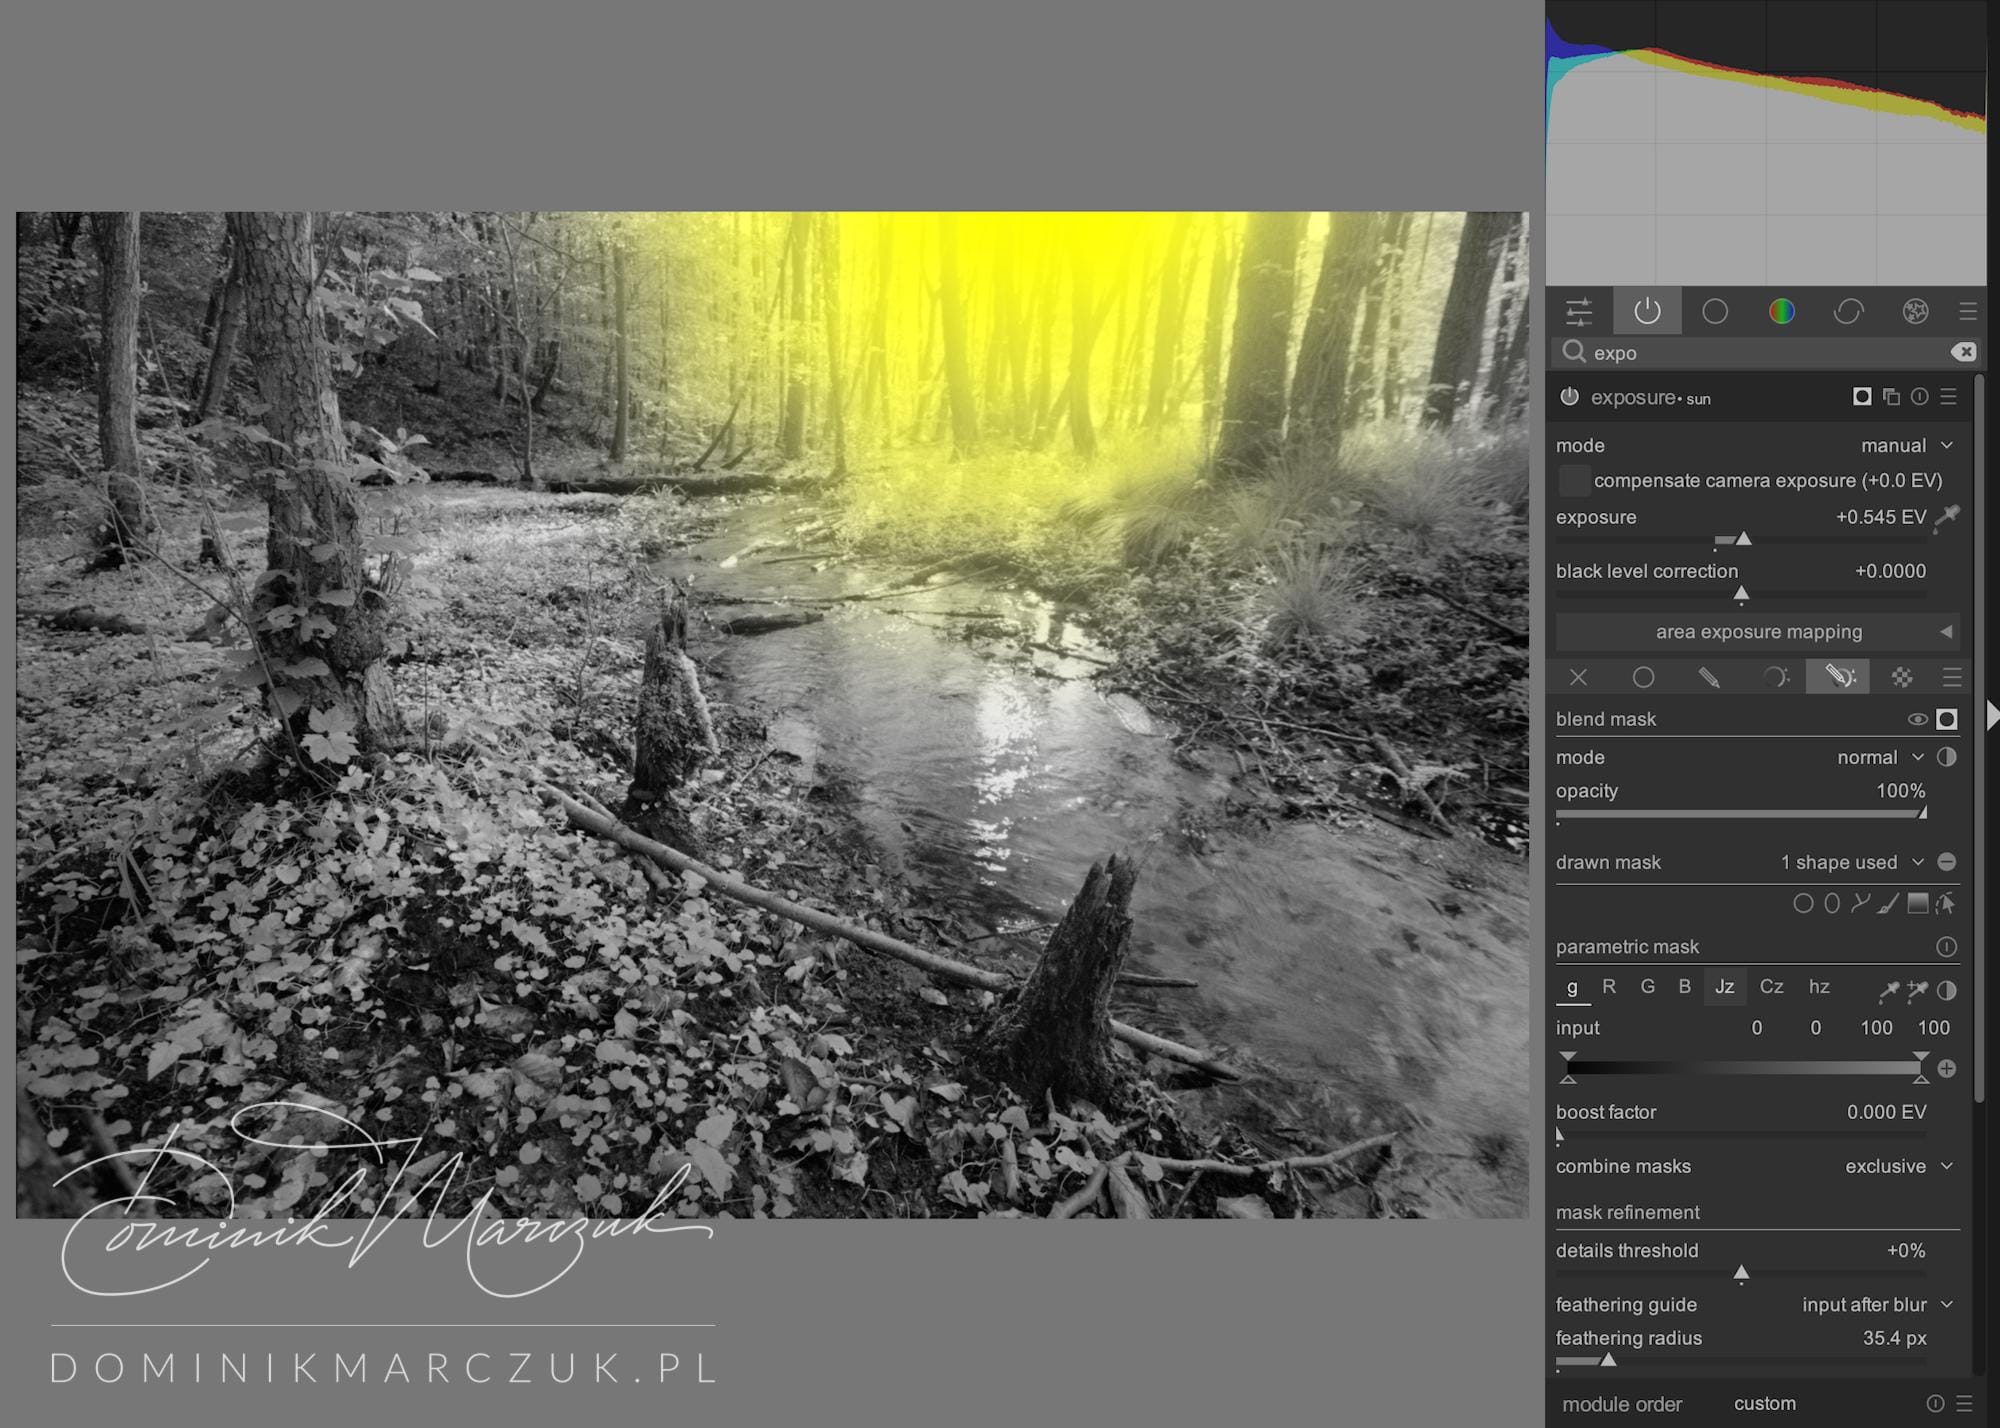
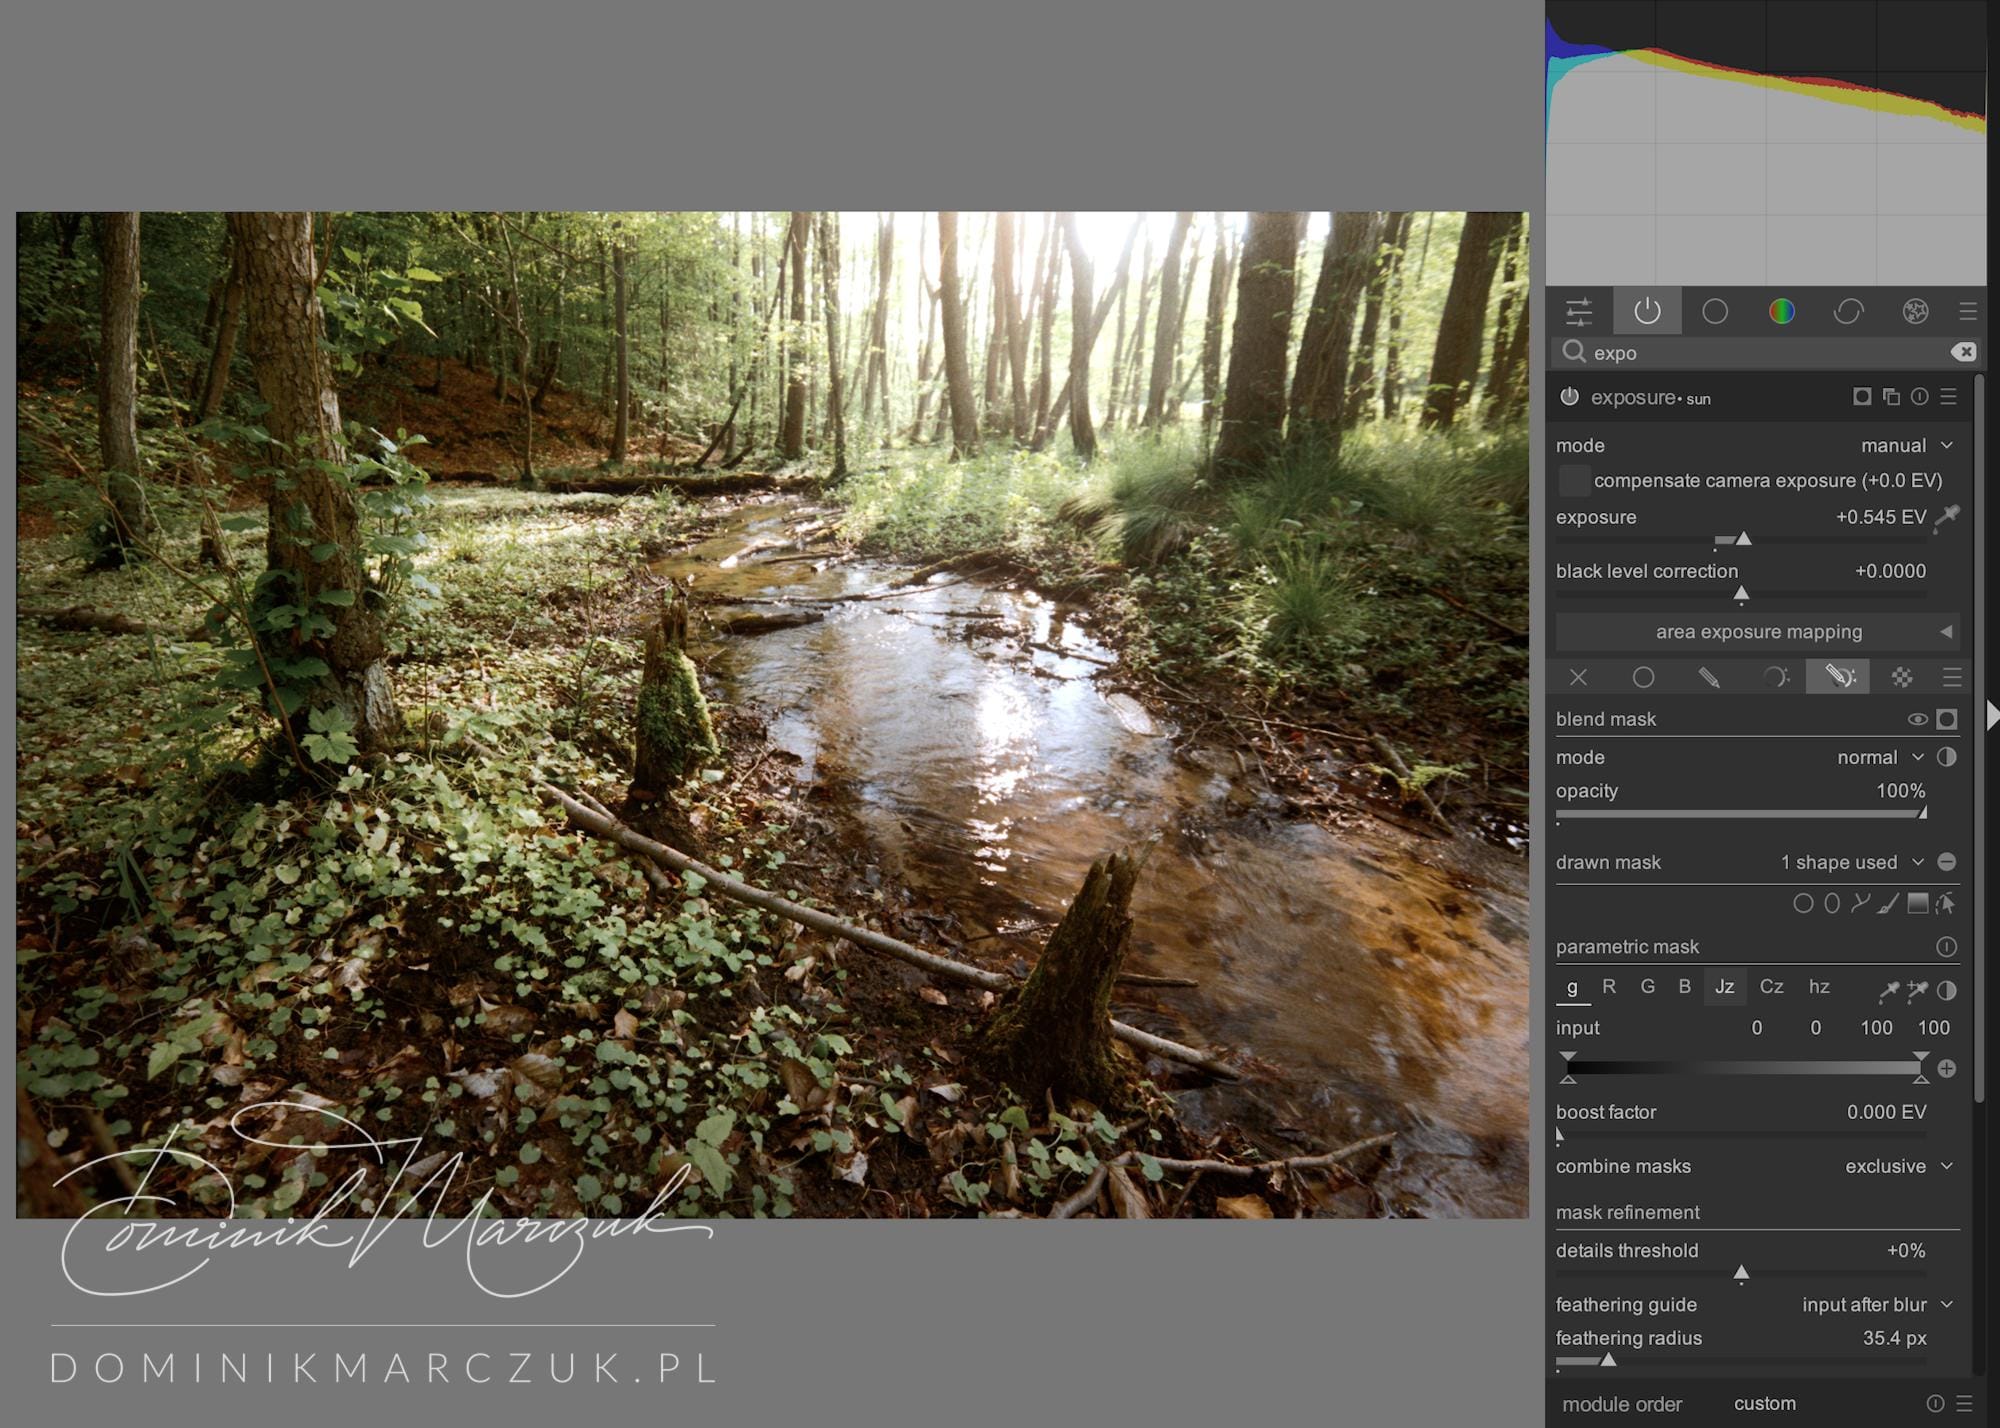
Exposure: sun
I dodged some areas…
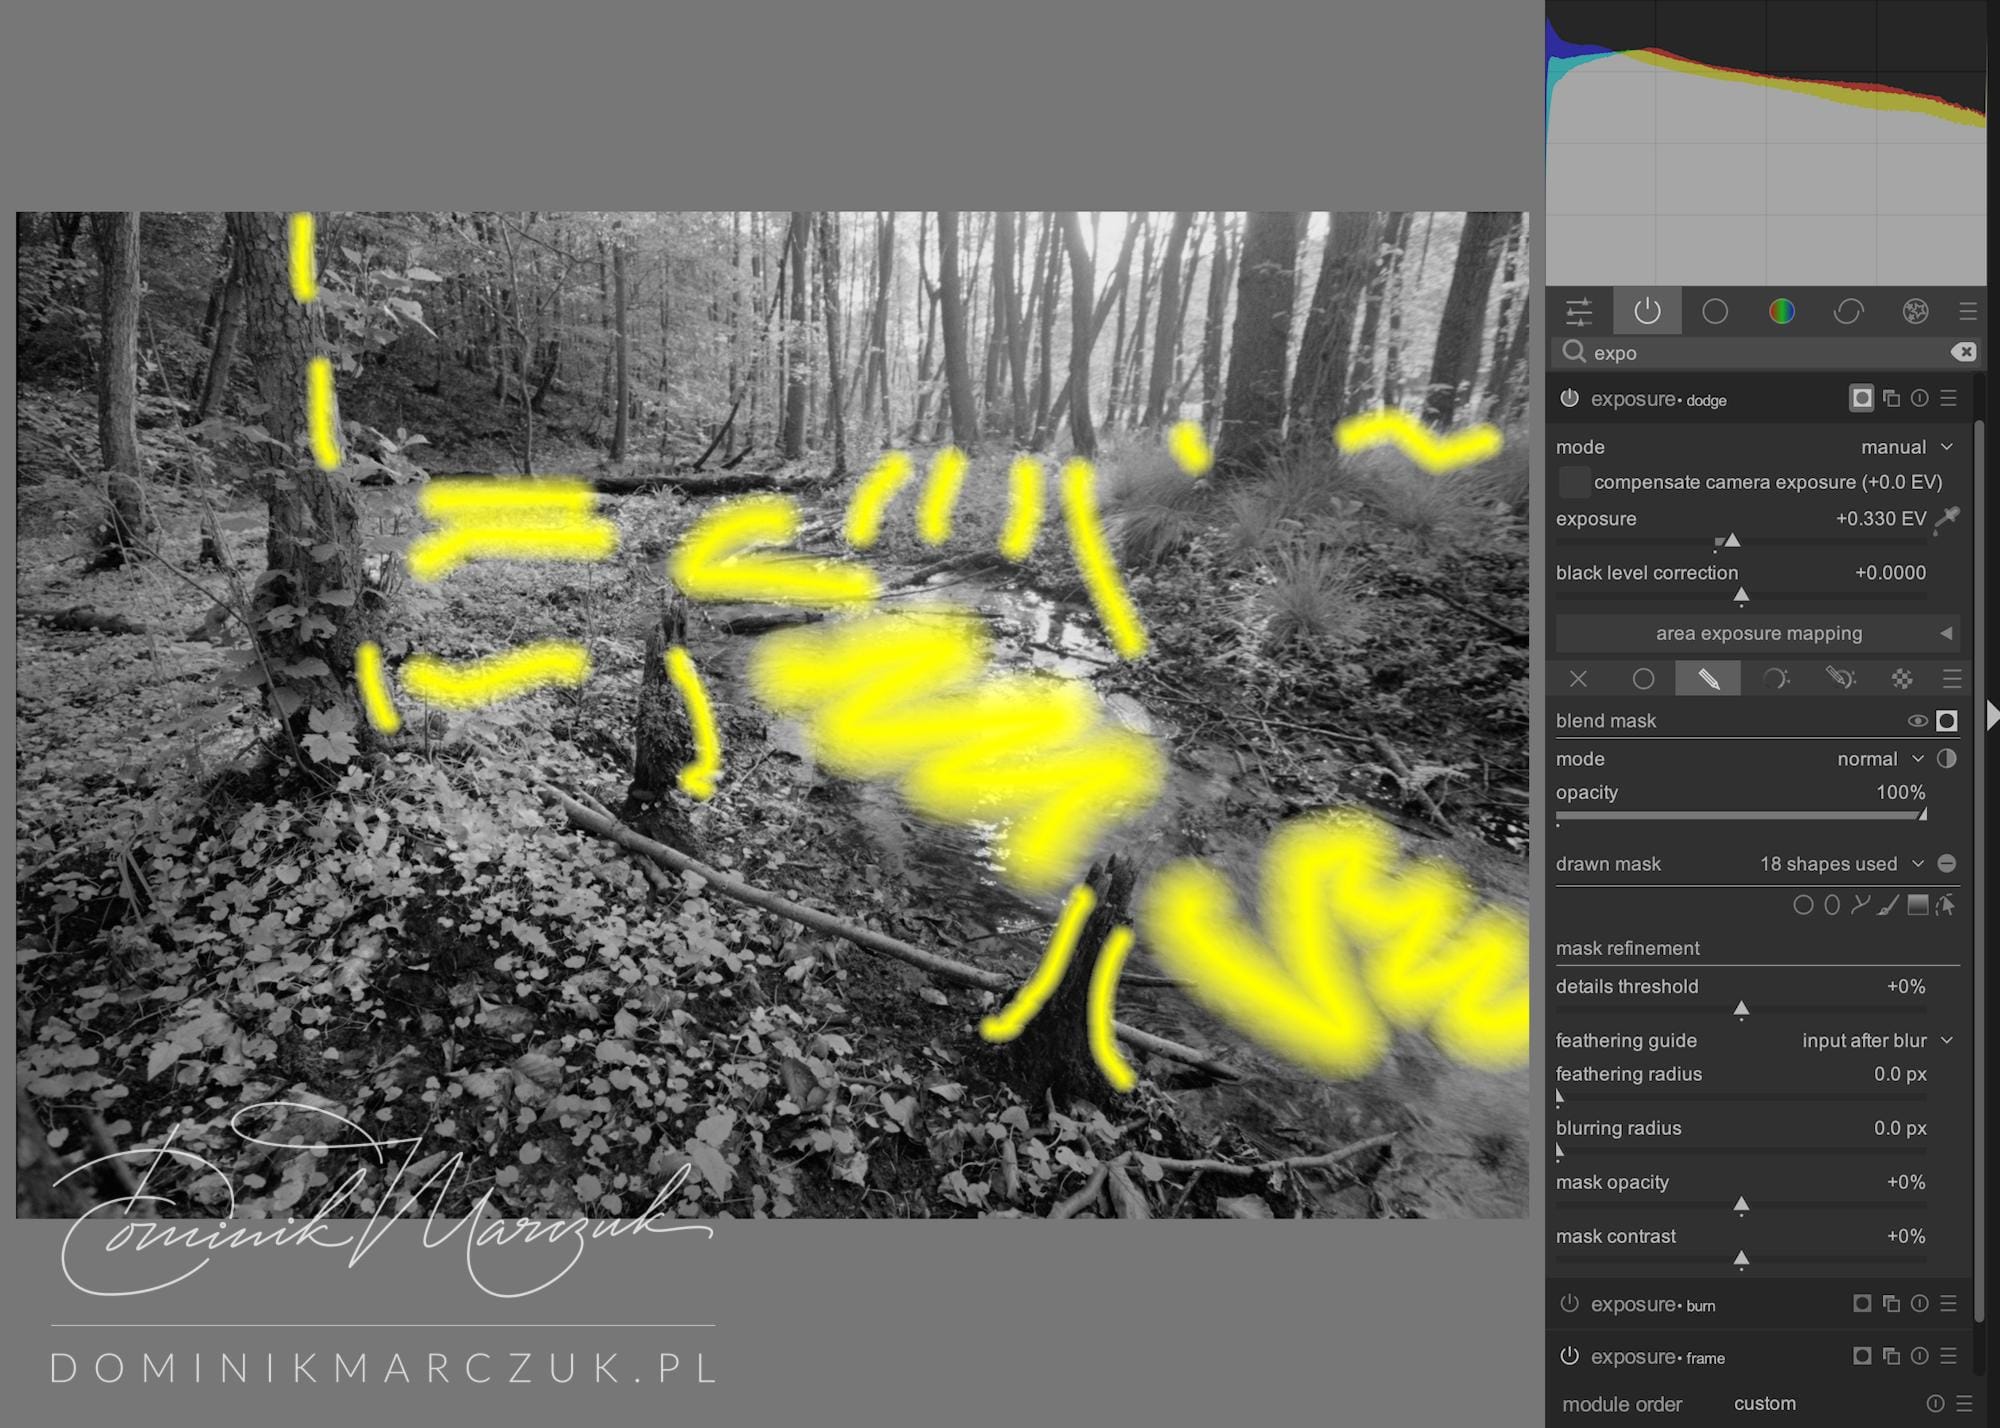
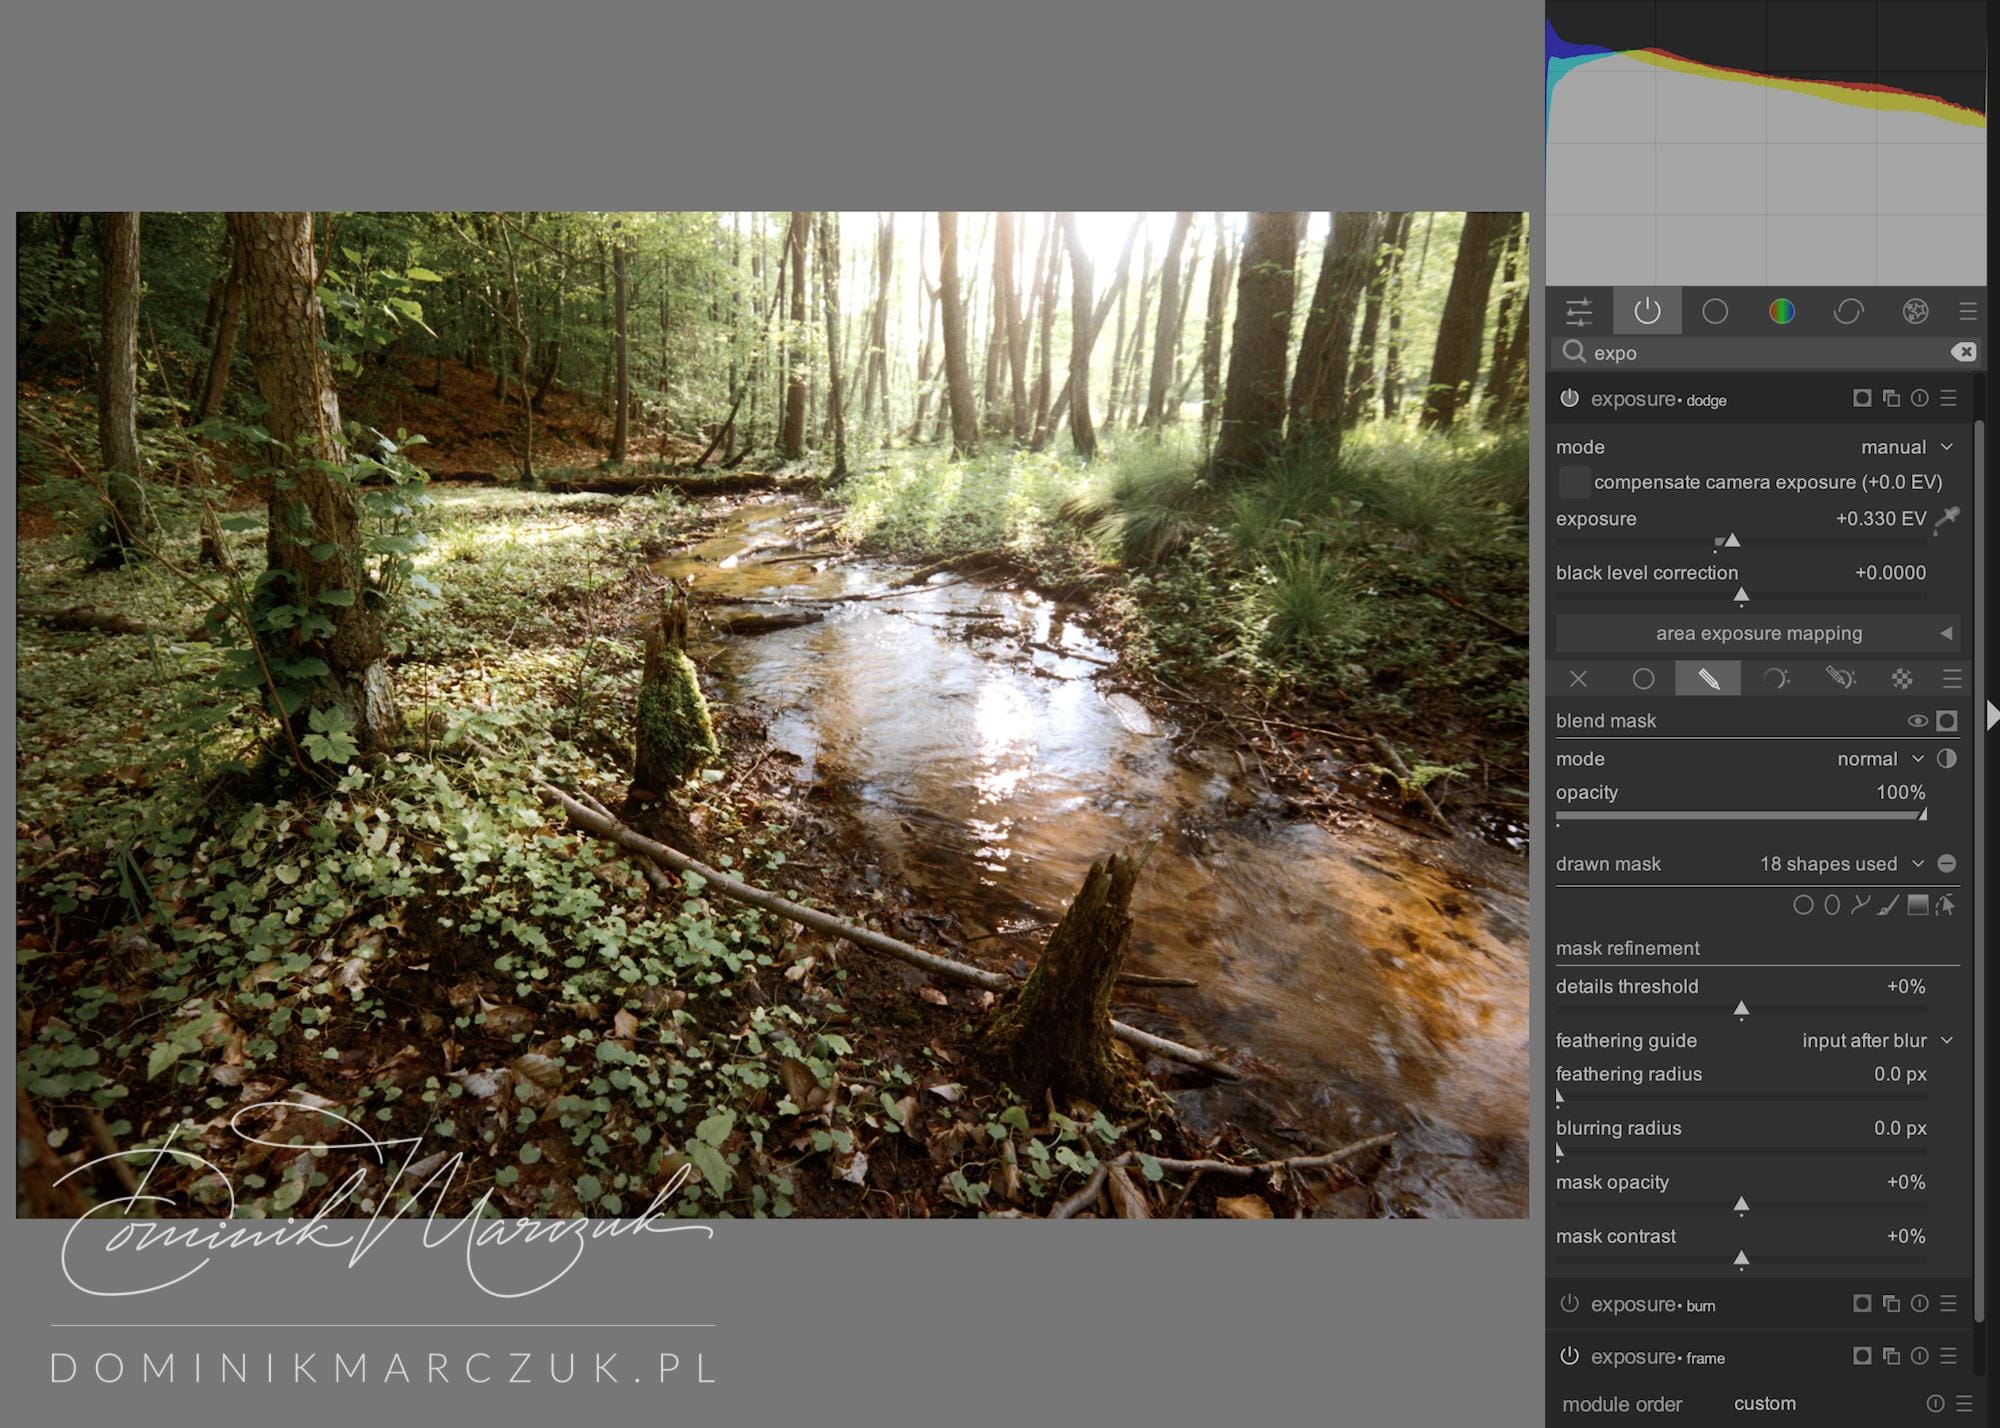
Exposure: dodge
…And burned others.
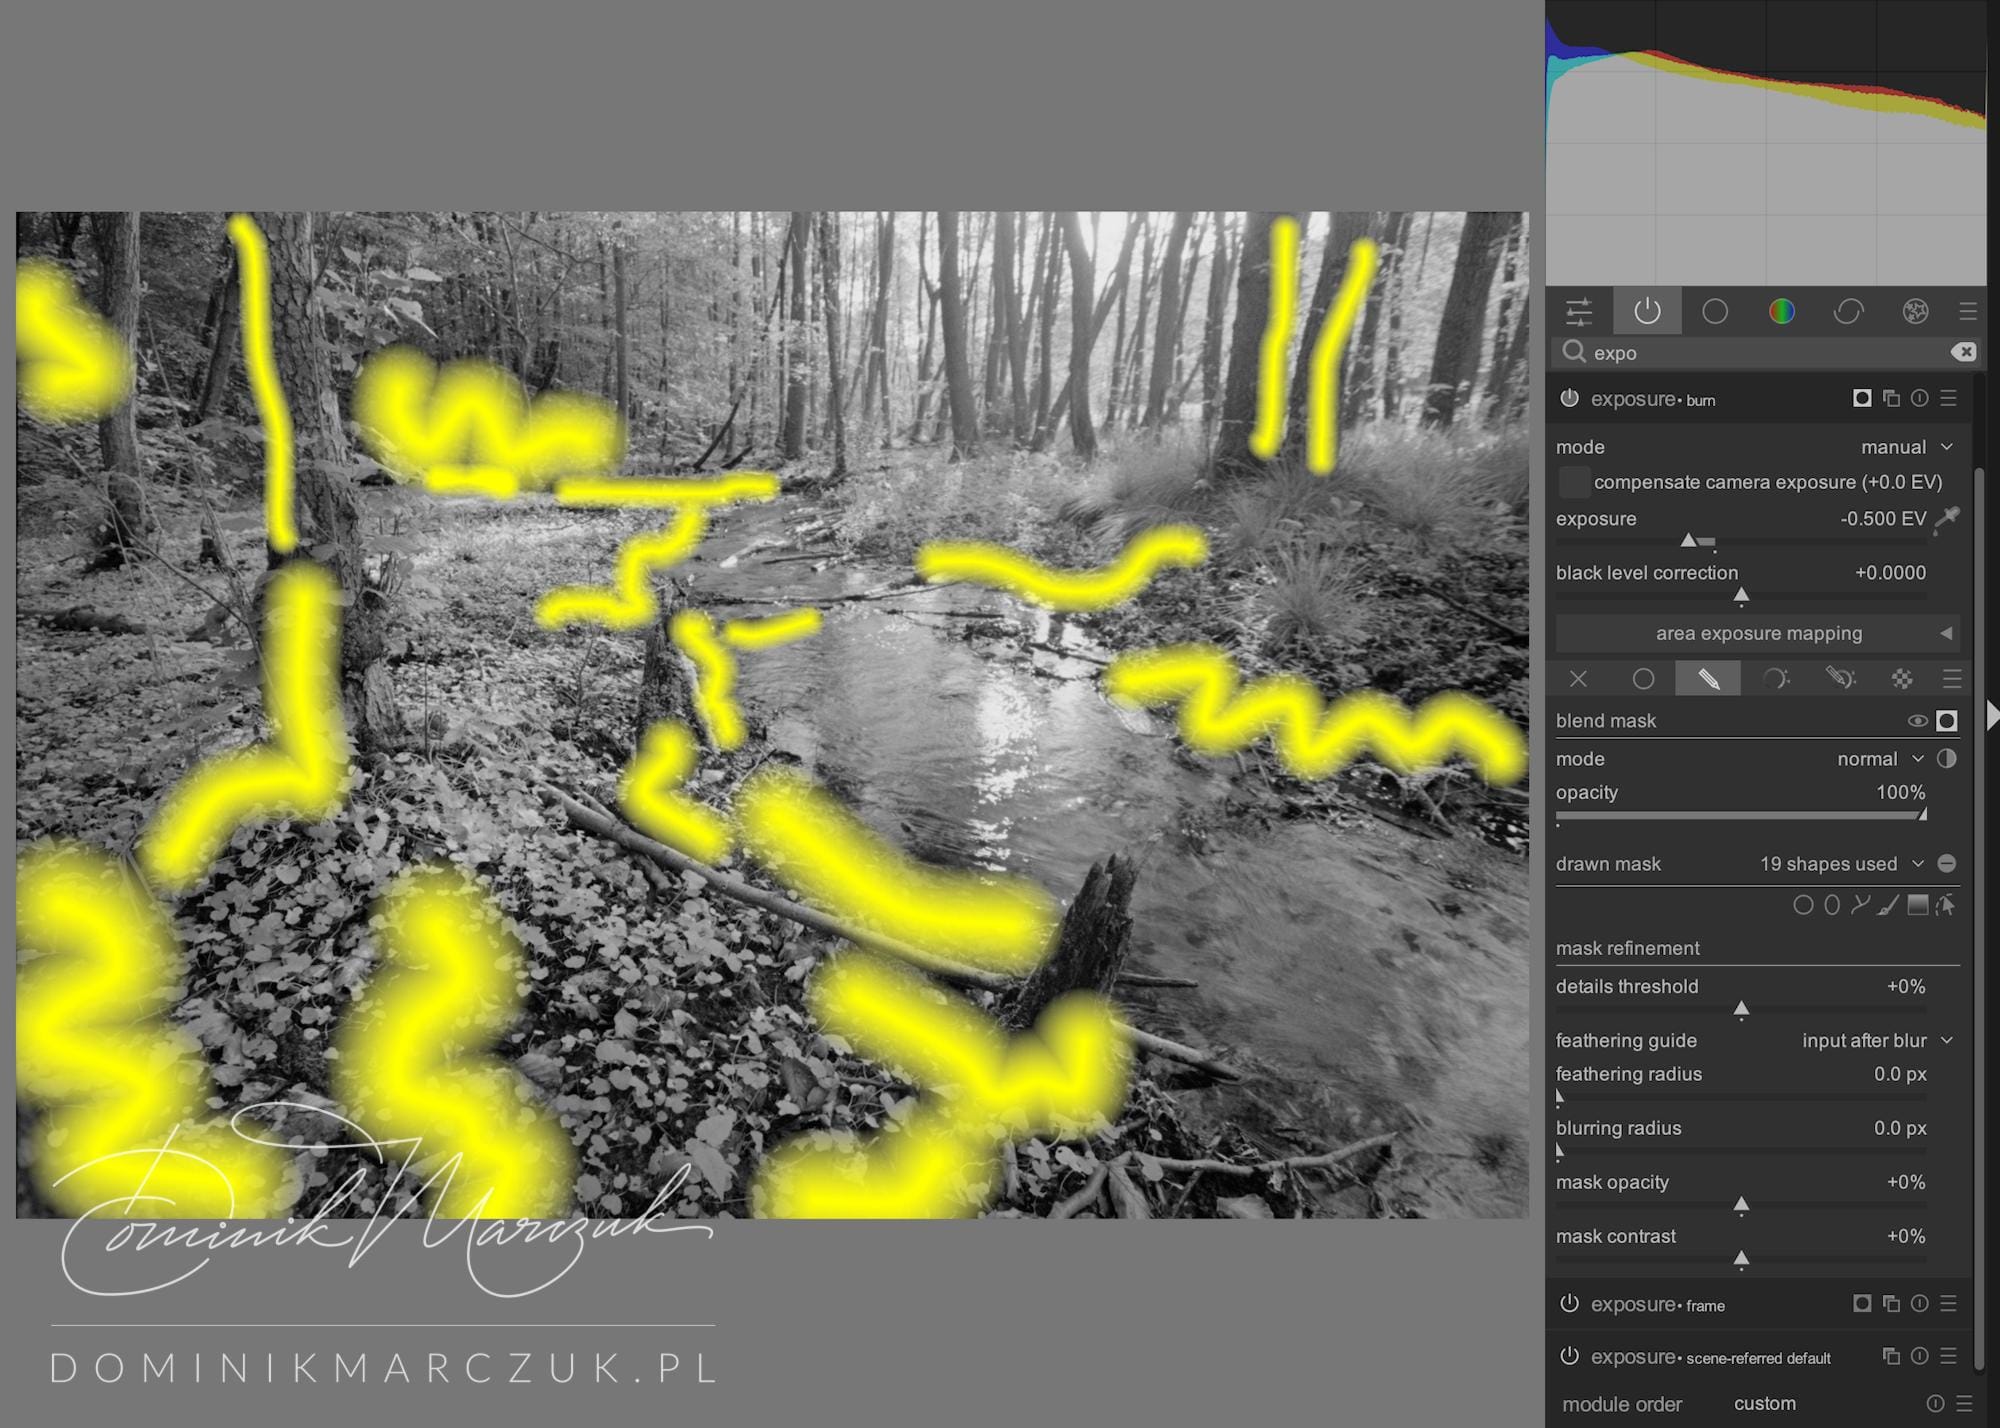

Exposure: burn
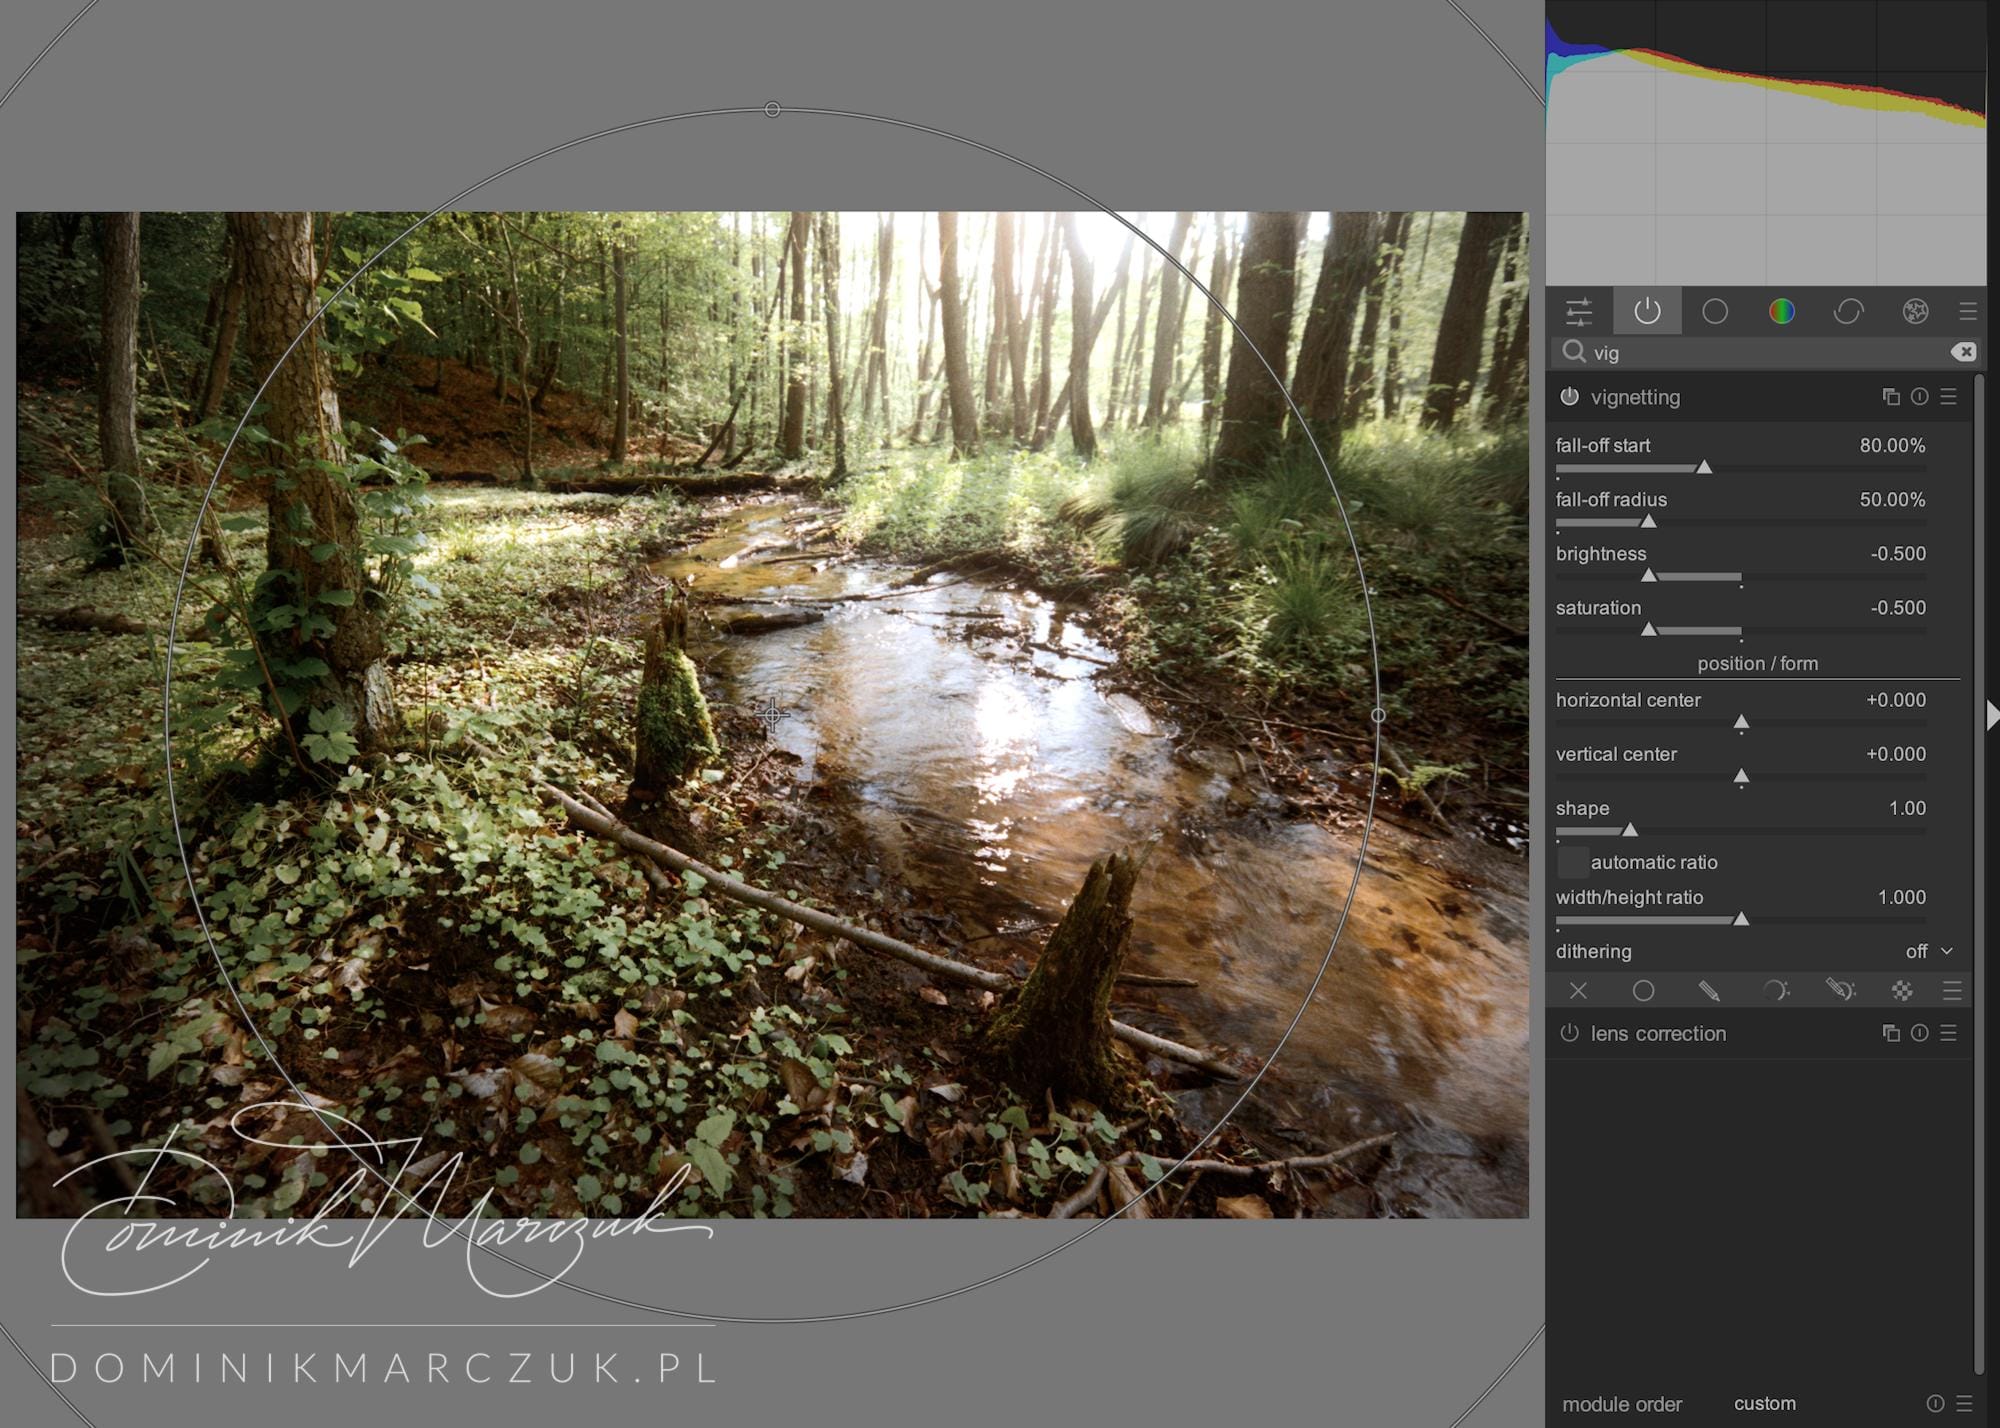
As a final touch, I added a vignette to concentrate the viewer's eyes on the central part of the image even more.
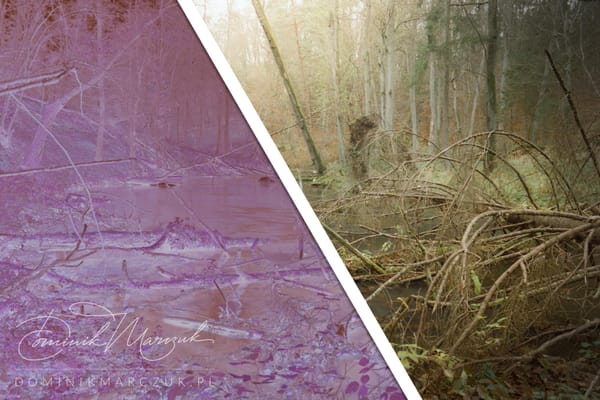
At this point, I was left with the final image. Here's a before and after: the negative, the positive and the final edit.

Before and after
Here is the image.